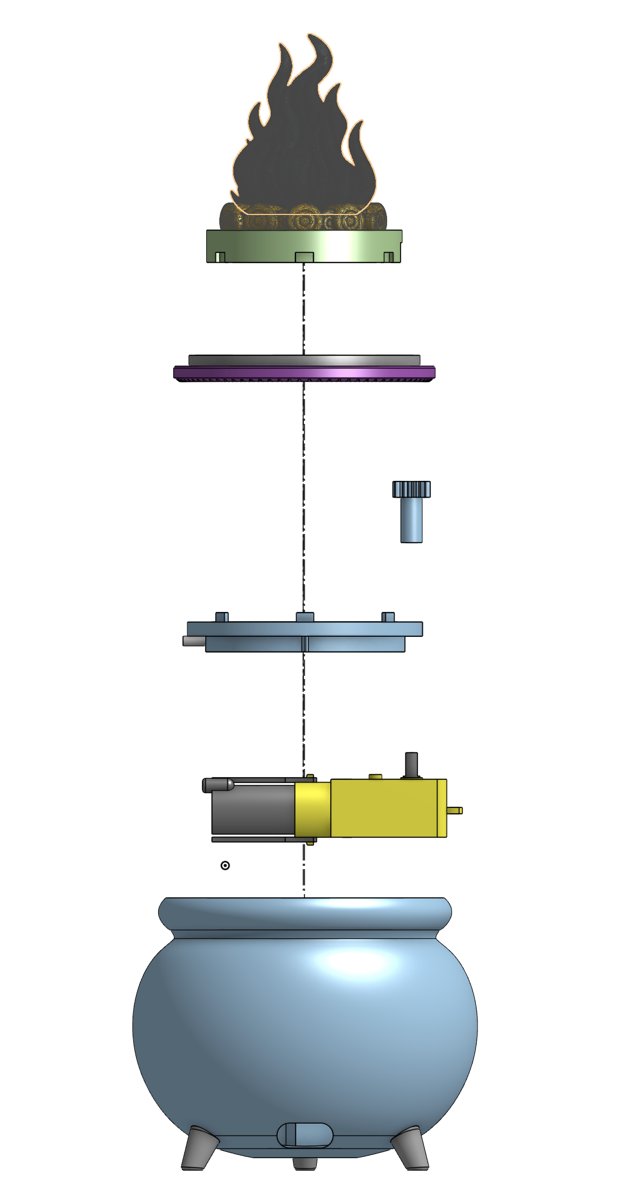
Parts
- CauldronMain body with motor cradle and cord hole
- Legs ×3Glued into the bottom sockets
- Gear motorDrives the rotating ring
- Small gearFits on the motor shaft
- LED + LED holderLights the scene from below
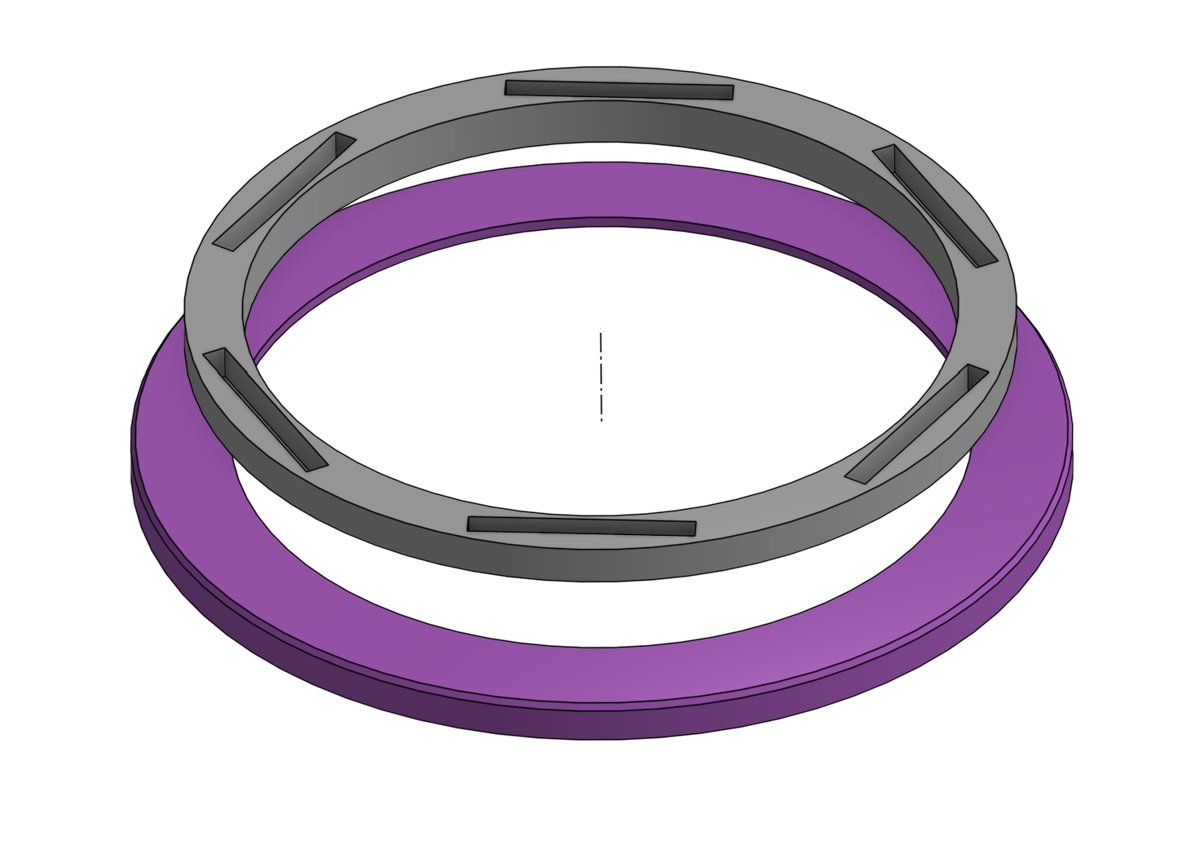
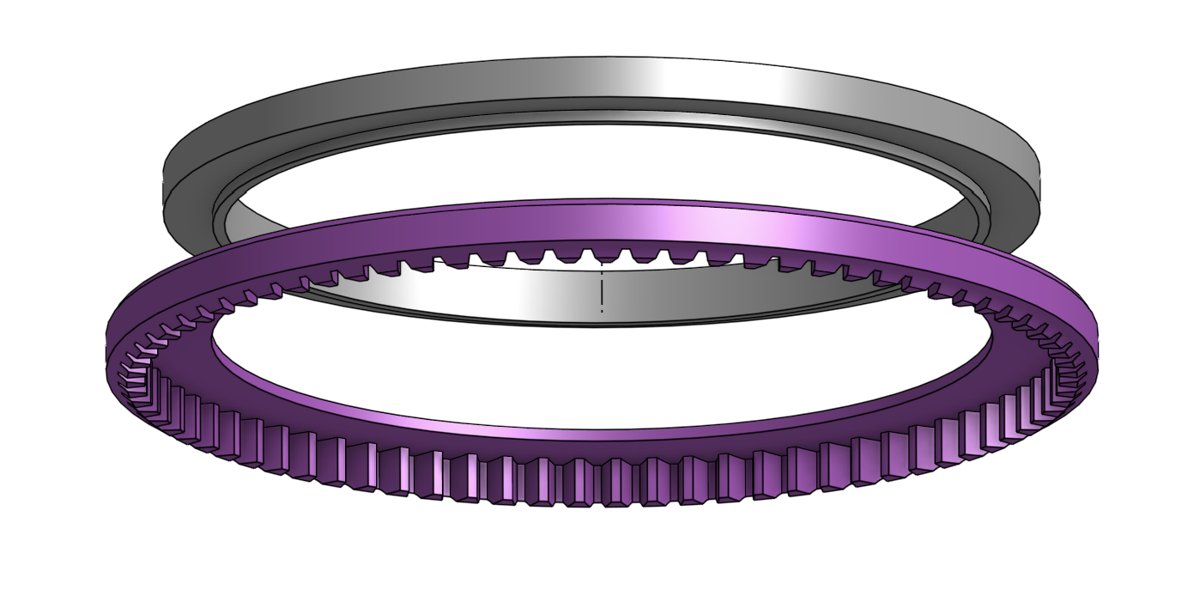
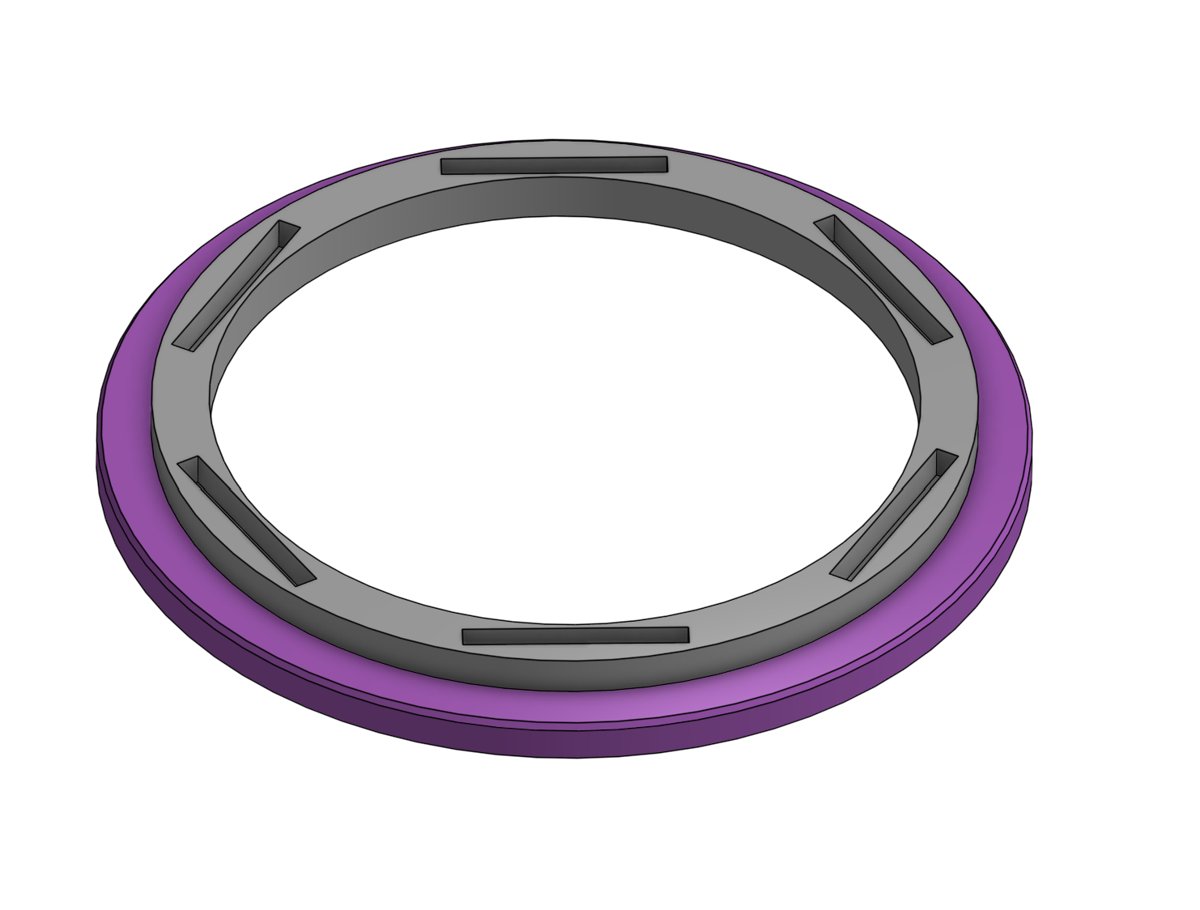
- Ring gear + stand ringPurple gear and gray slotted ring
- Witch & cat silhouettesSlot into the stand ring
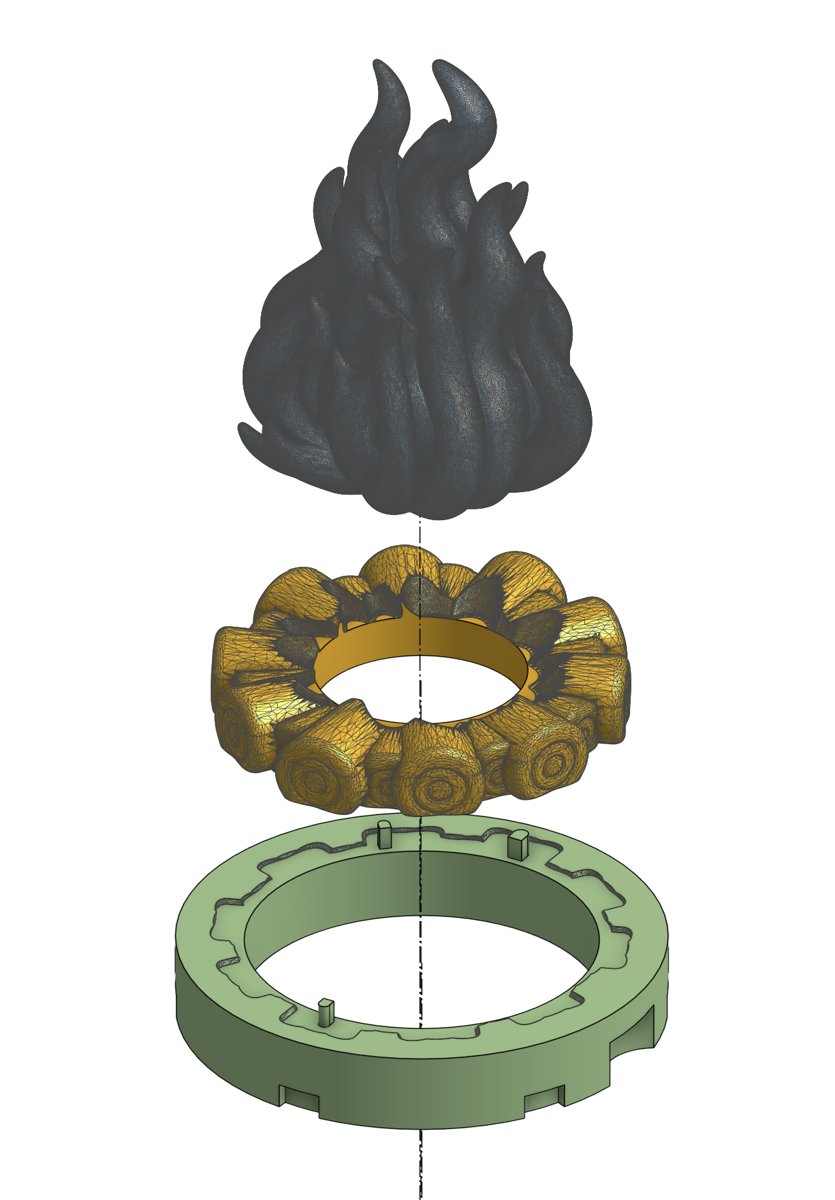
- FireFlame, logs, and green base
You'll also need
Glue
Exploded view
Steps
Attach the legs
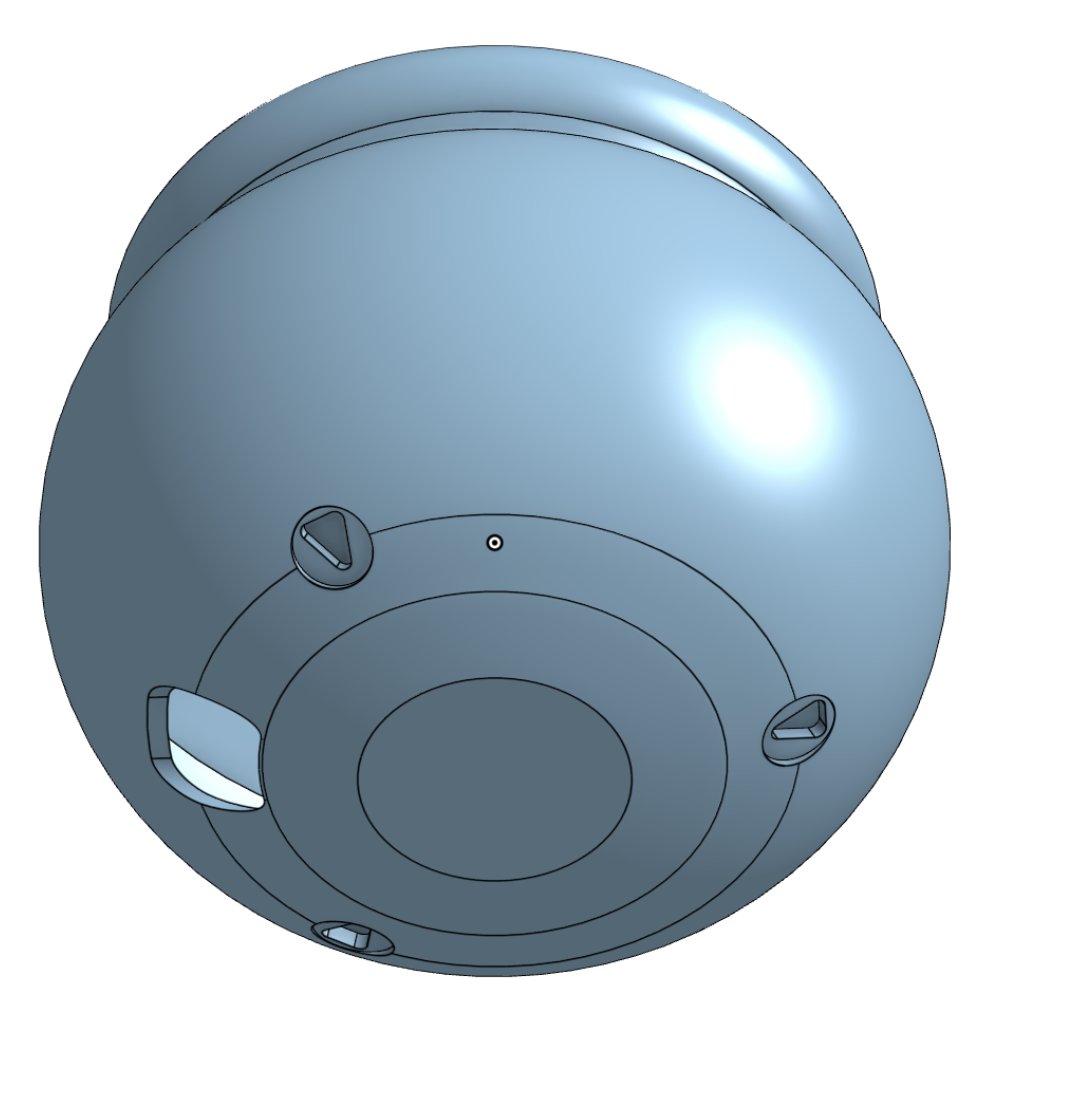
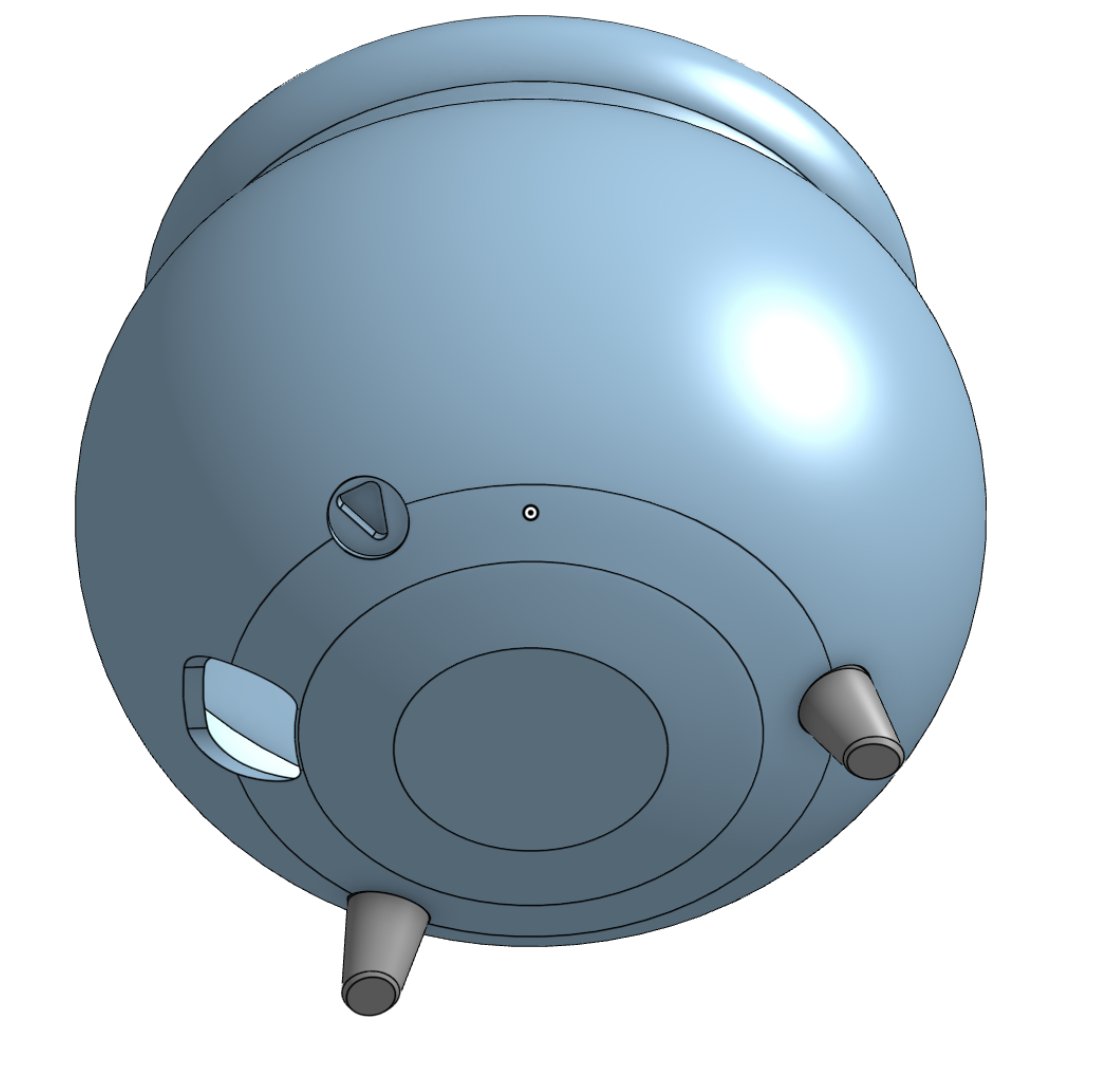
Flip the cauldron upside down and glue the three legs into the triangular sockets on the bottom. The sockets are keyed, so each leg only fits one way.
Build the silhouette ring
Glue the gray stand ring onto the purple ring gear. The stand ring's lip seats into the inner edge of the gear, and its slots face up. The gear teeth point inward, toward the center.
Build the fire
Stack the flame onto the logs, then the logs onto the green base. The pegs on the base line up with the holes in the logs. Glue as needed to hold everything together.
Install the motor
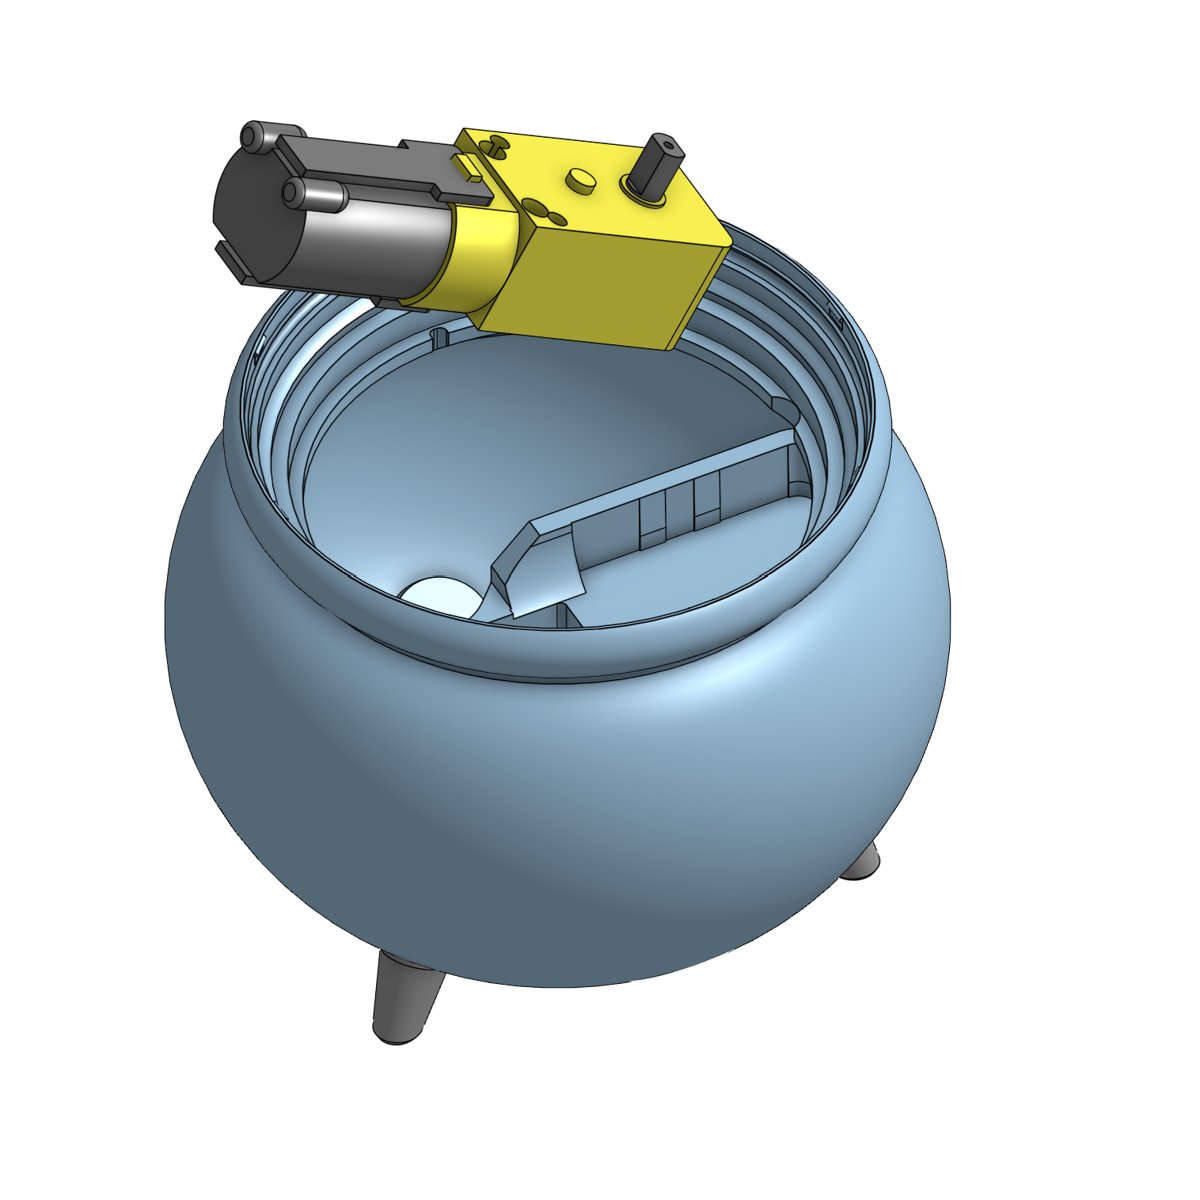
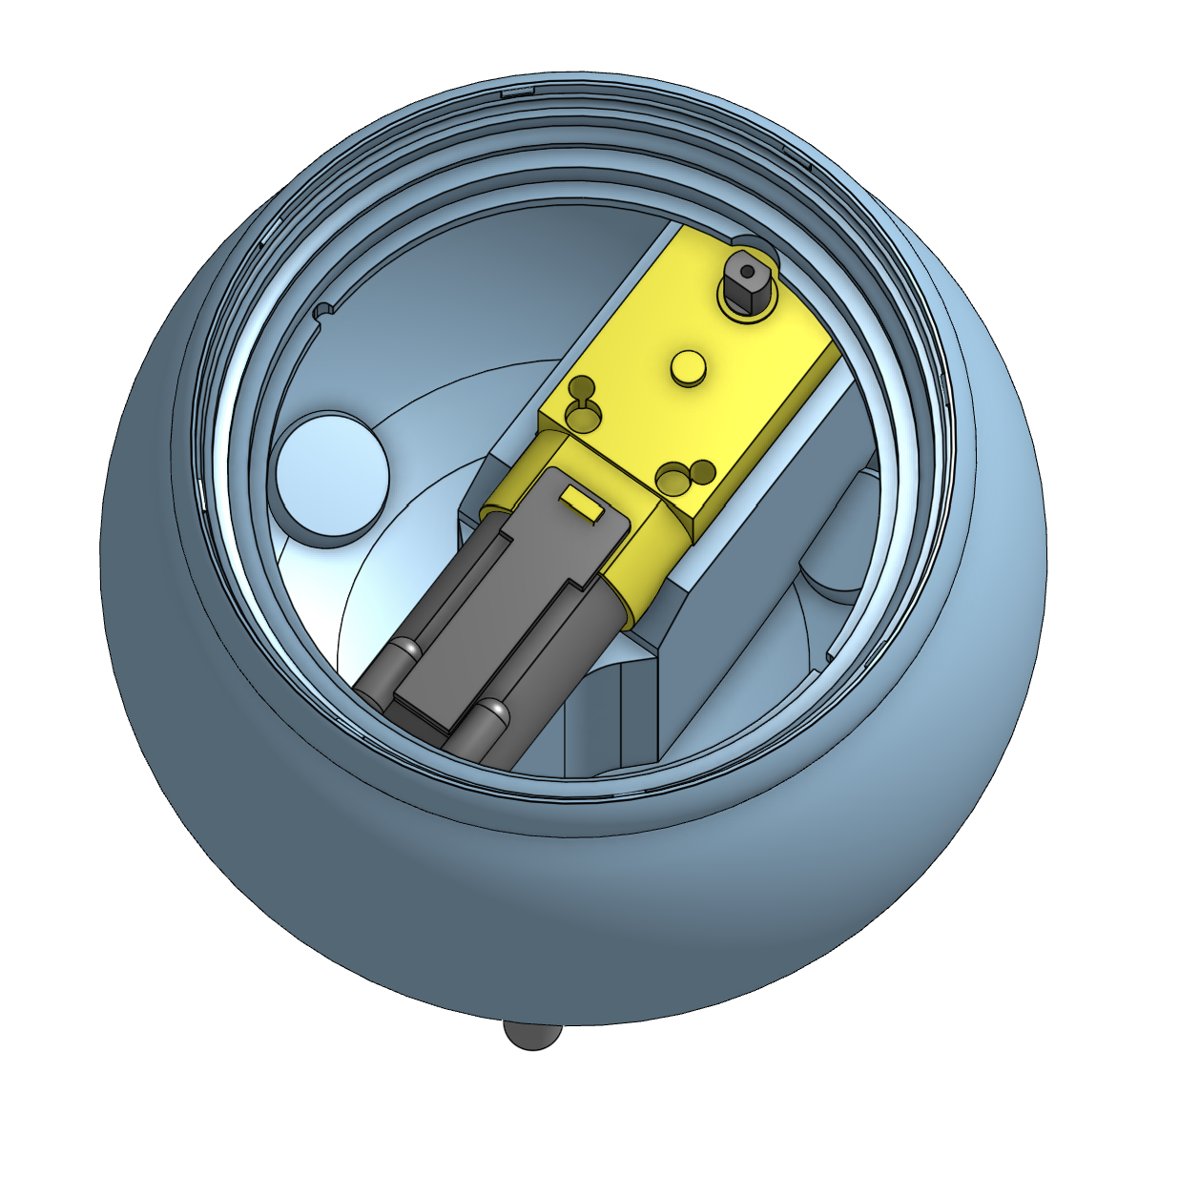
Route the motor cord through the hole in the floor of the cauldron. Then seat the motor in its cradle with the shaft pointing up.
Prepare the LED
Press the LED into the holder. Route the long cord through the hole in the cauldron, but don't install the holder yet.
Install the LED holder
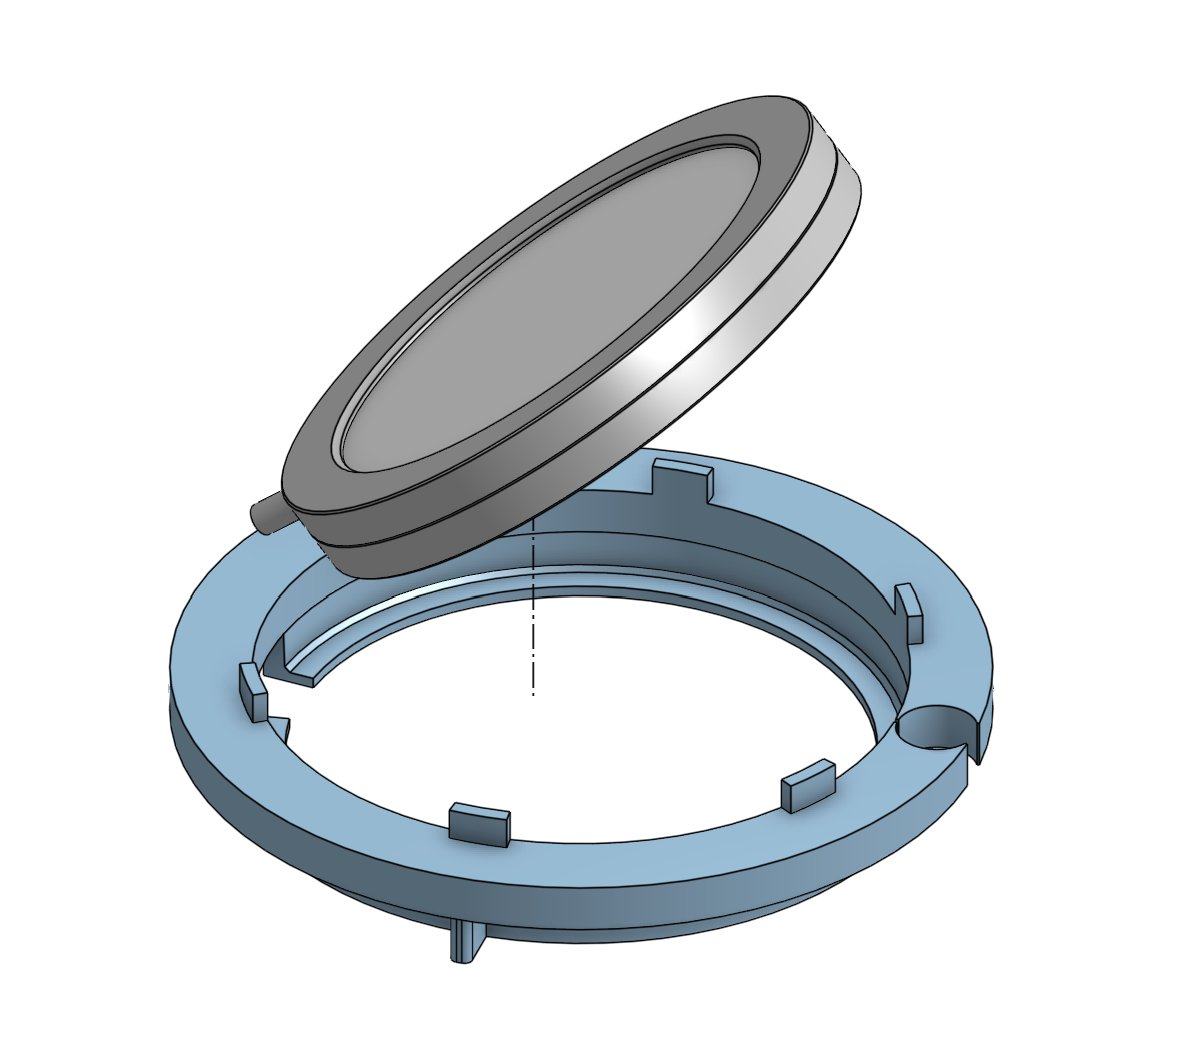
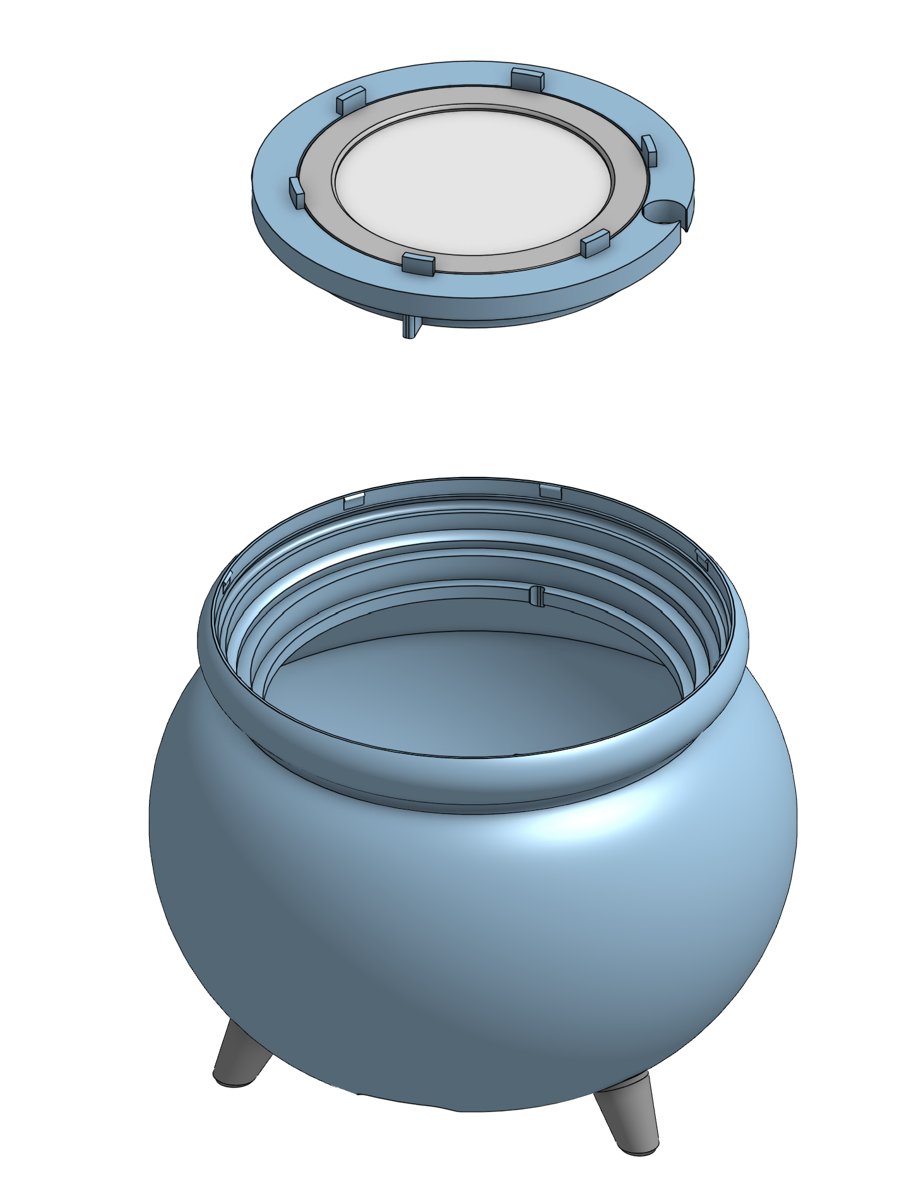
Lower the LED holder into the cauldron. The tabs on its sides align it with the cauldron. The notch in the holder ring must line up with the motor shaft.
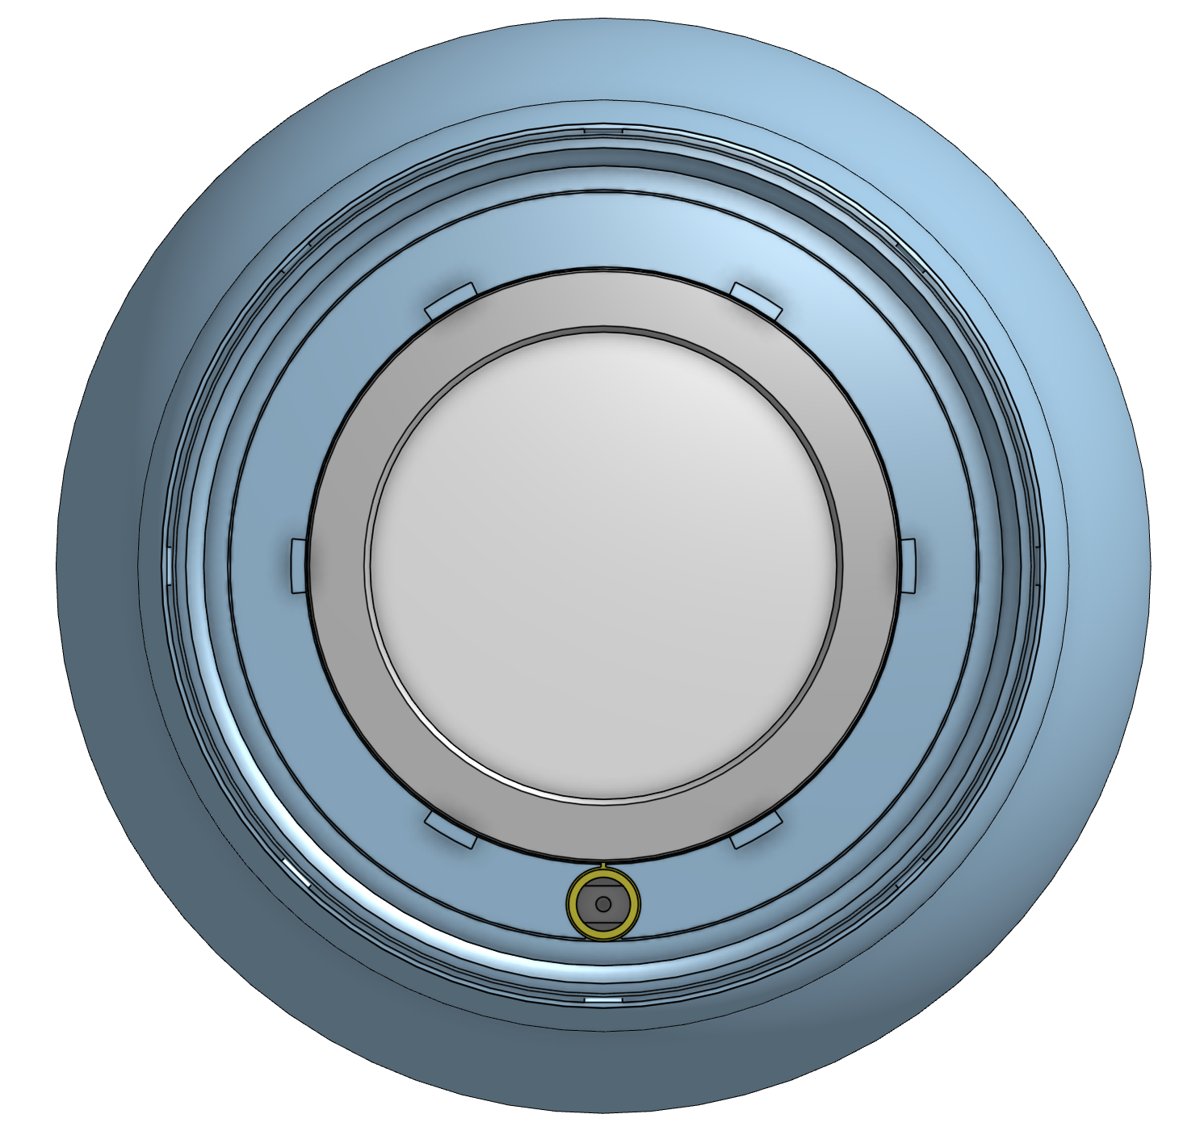
Install the small gear
Press the small gear onto the motor shaft.
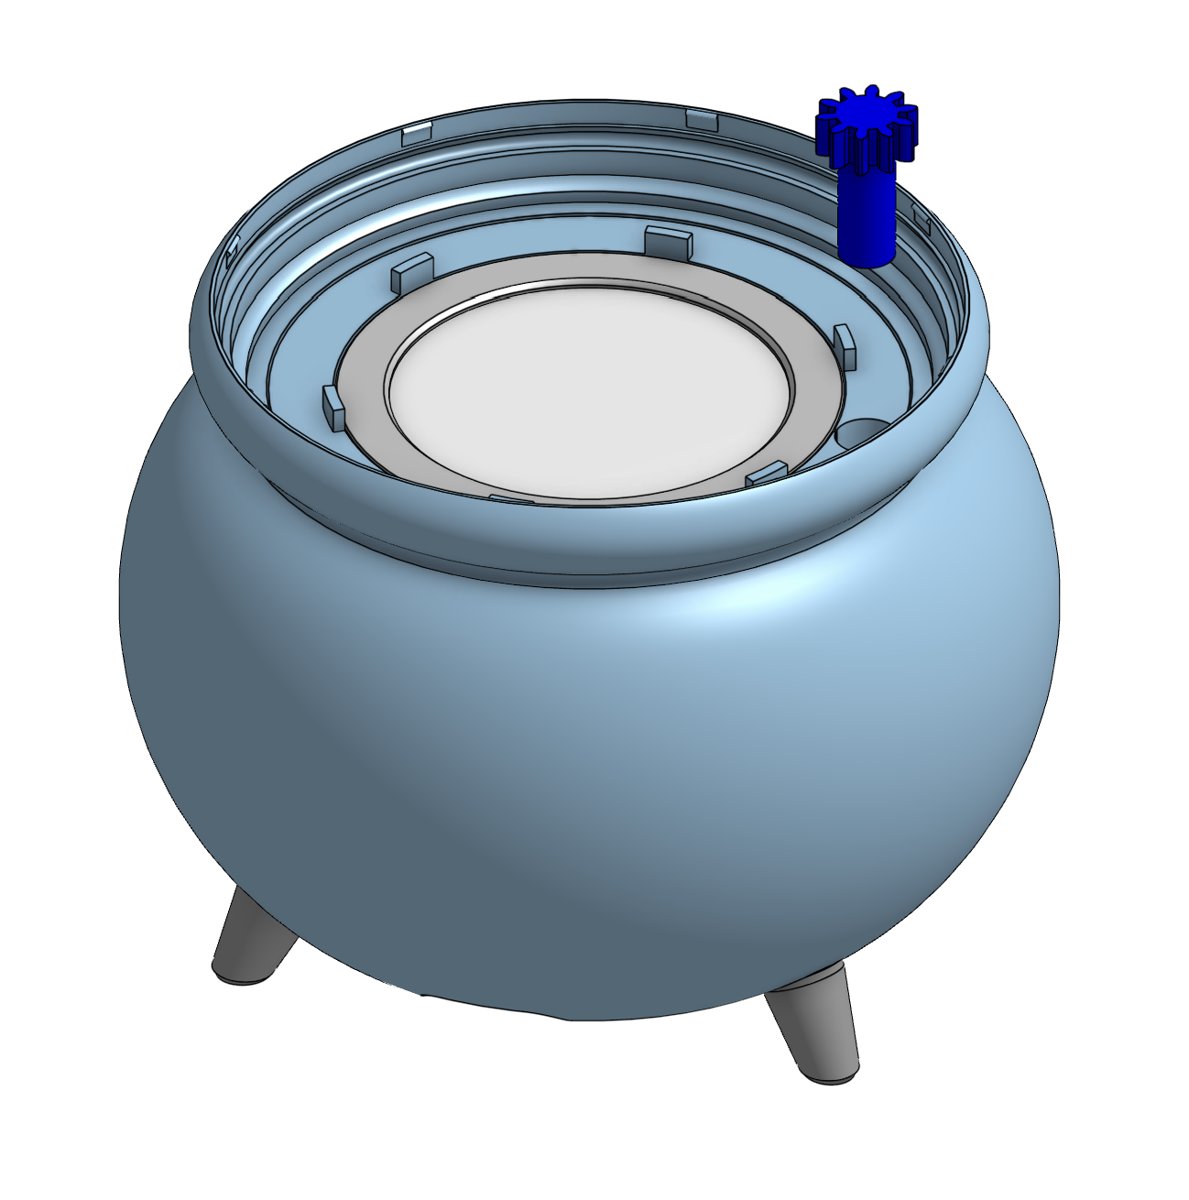
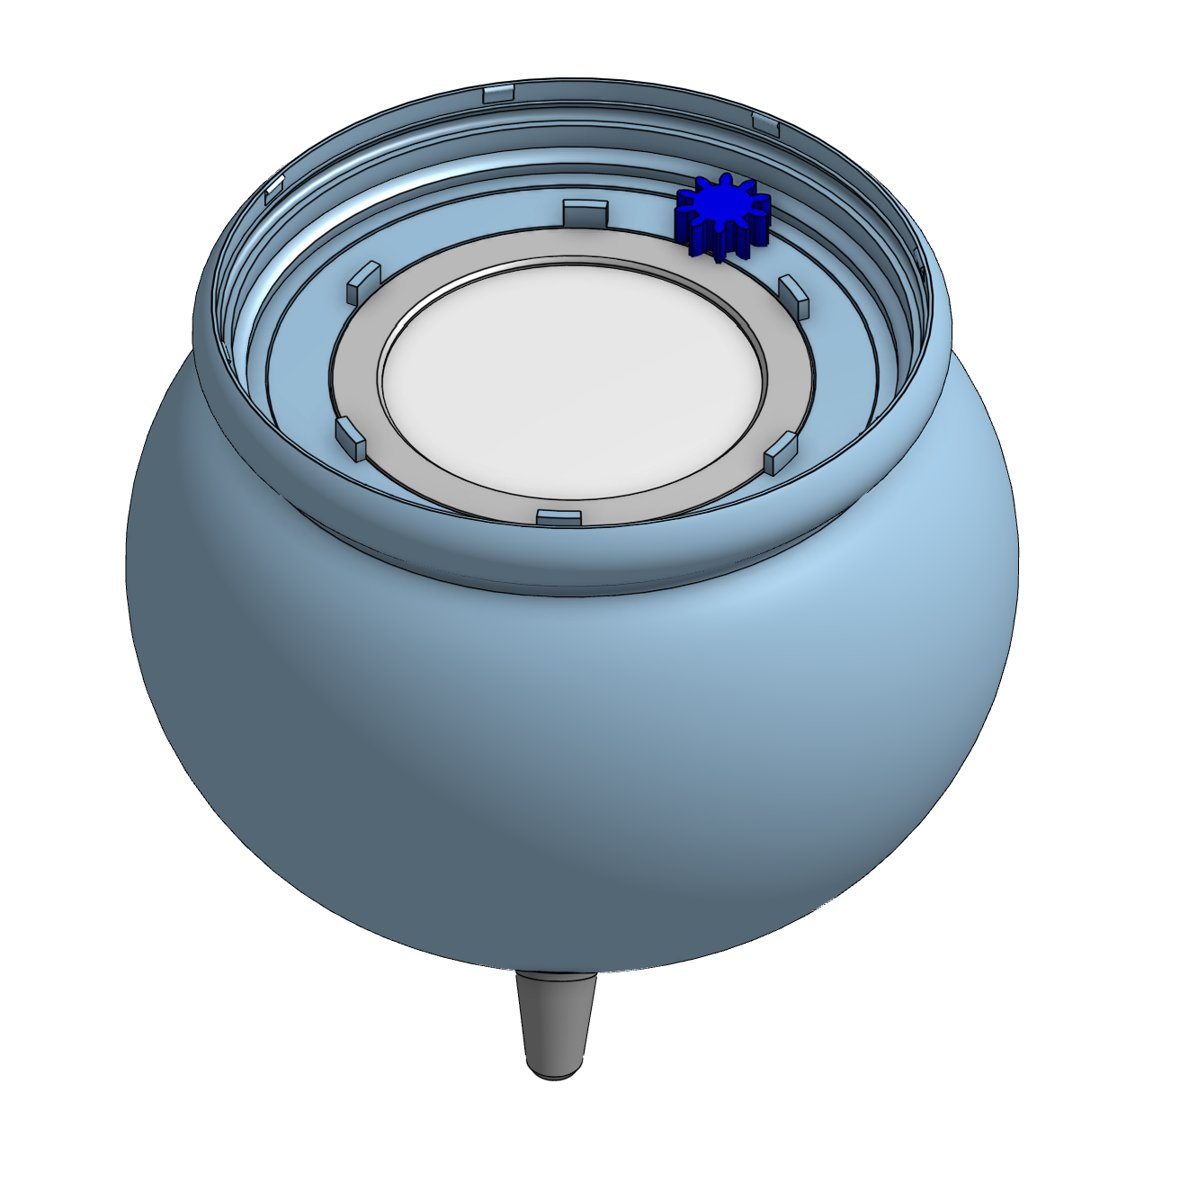
Add the silhouettes
Slide the witch and cat silhouettes into the slots on the stand ring.
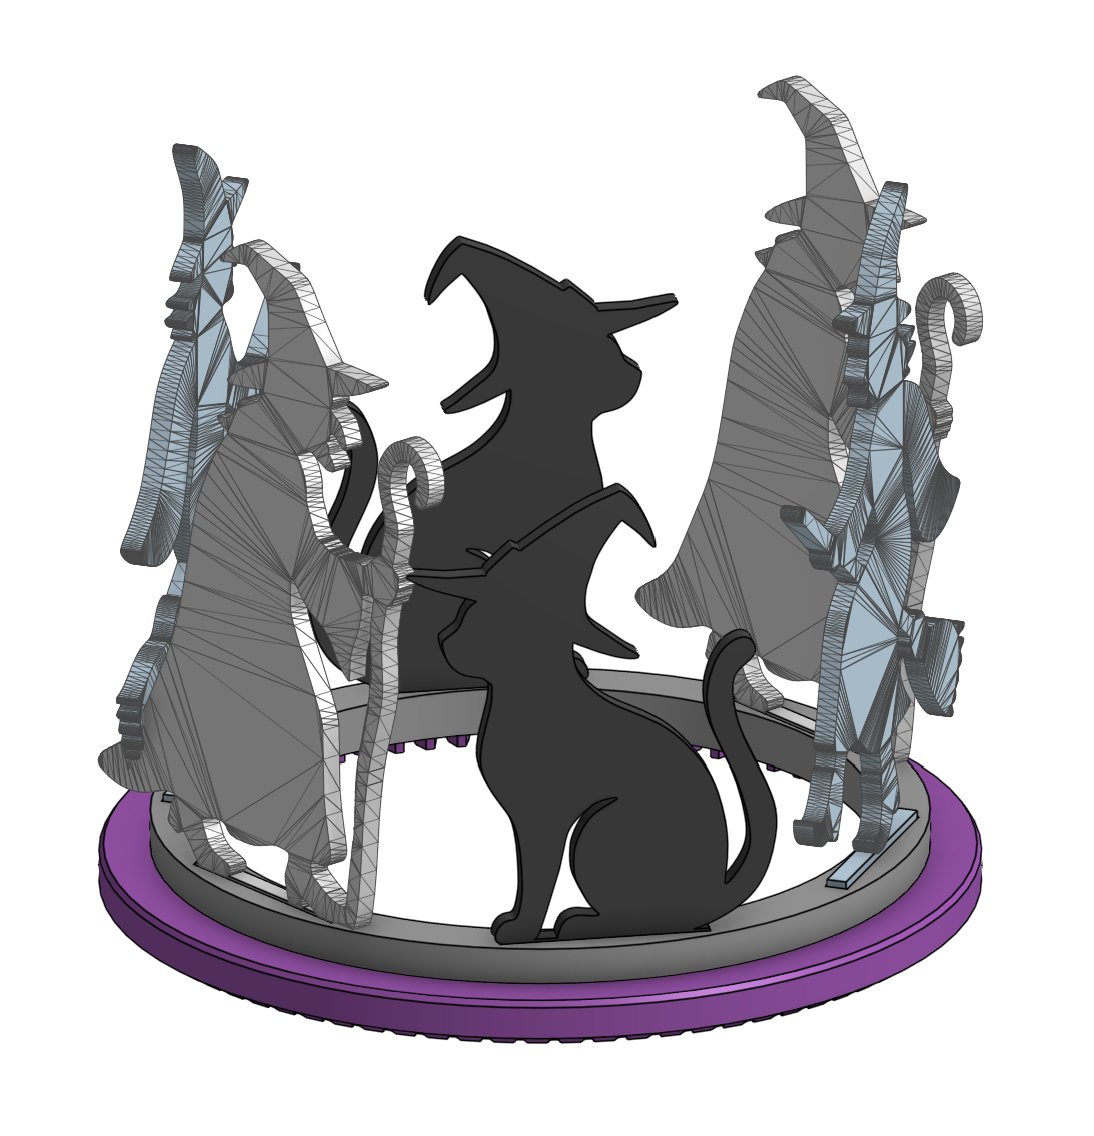
Install the silhouette ring
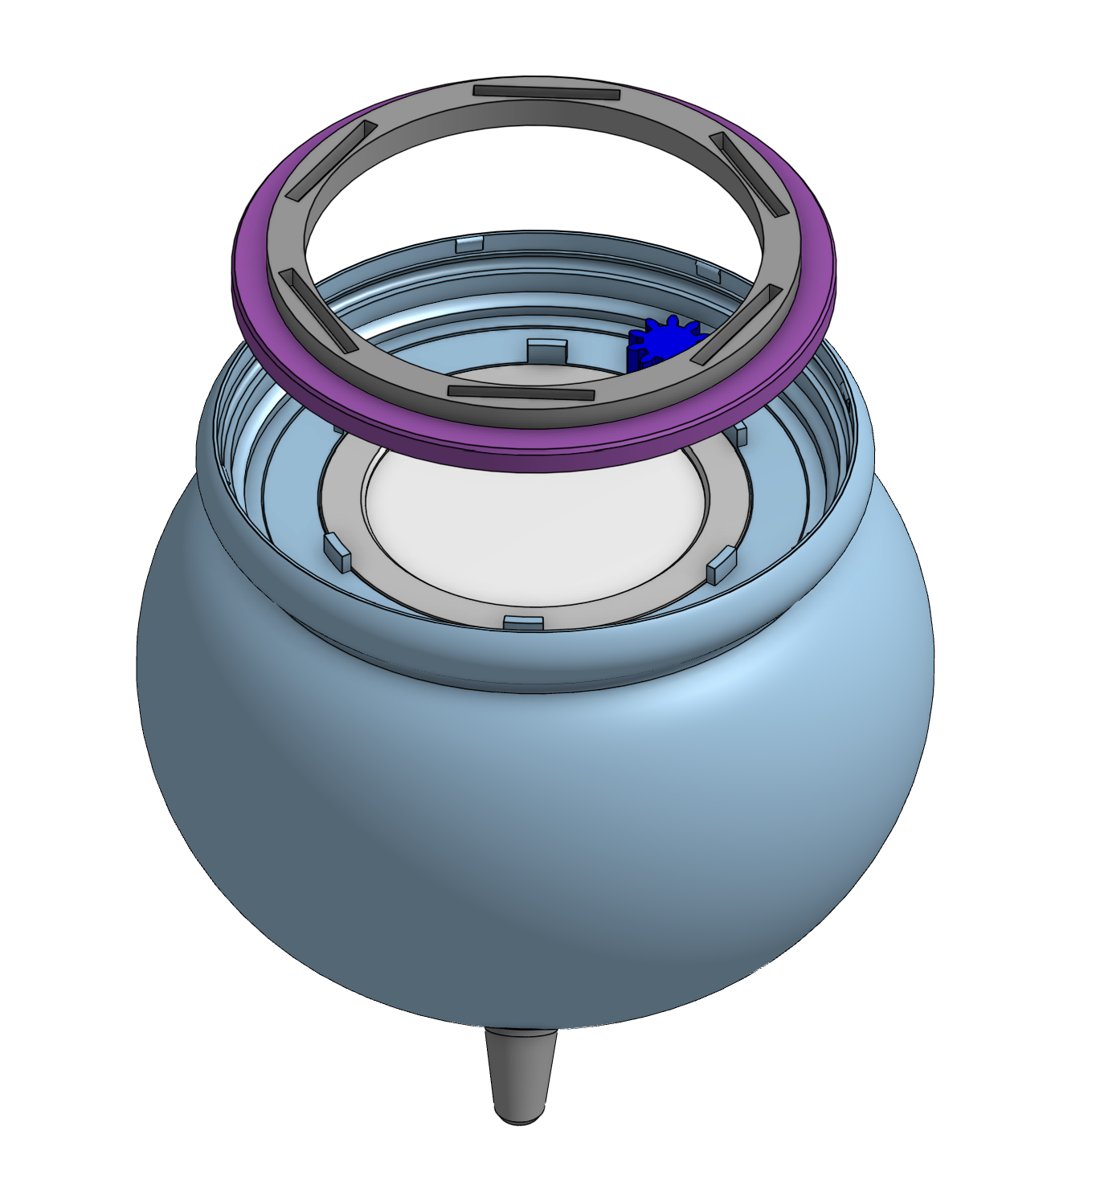
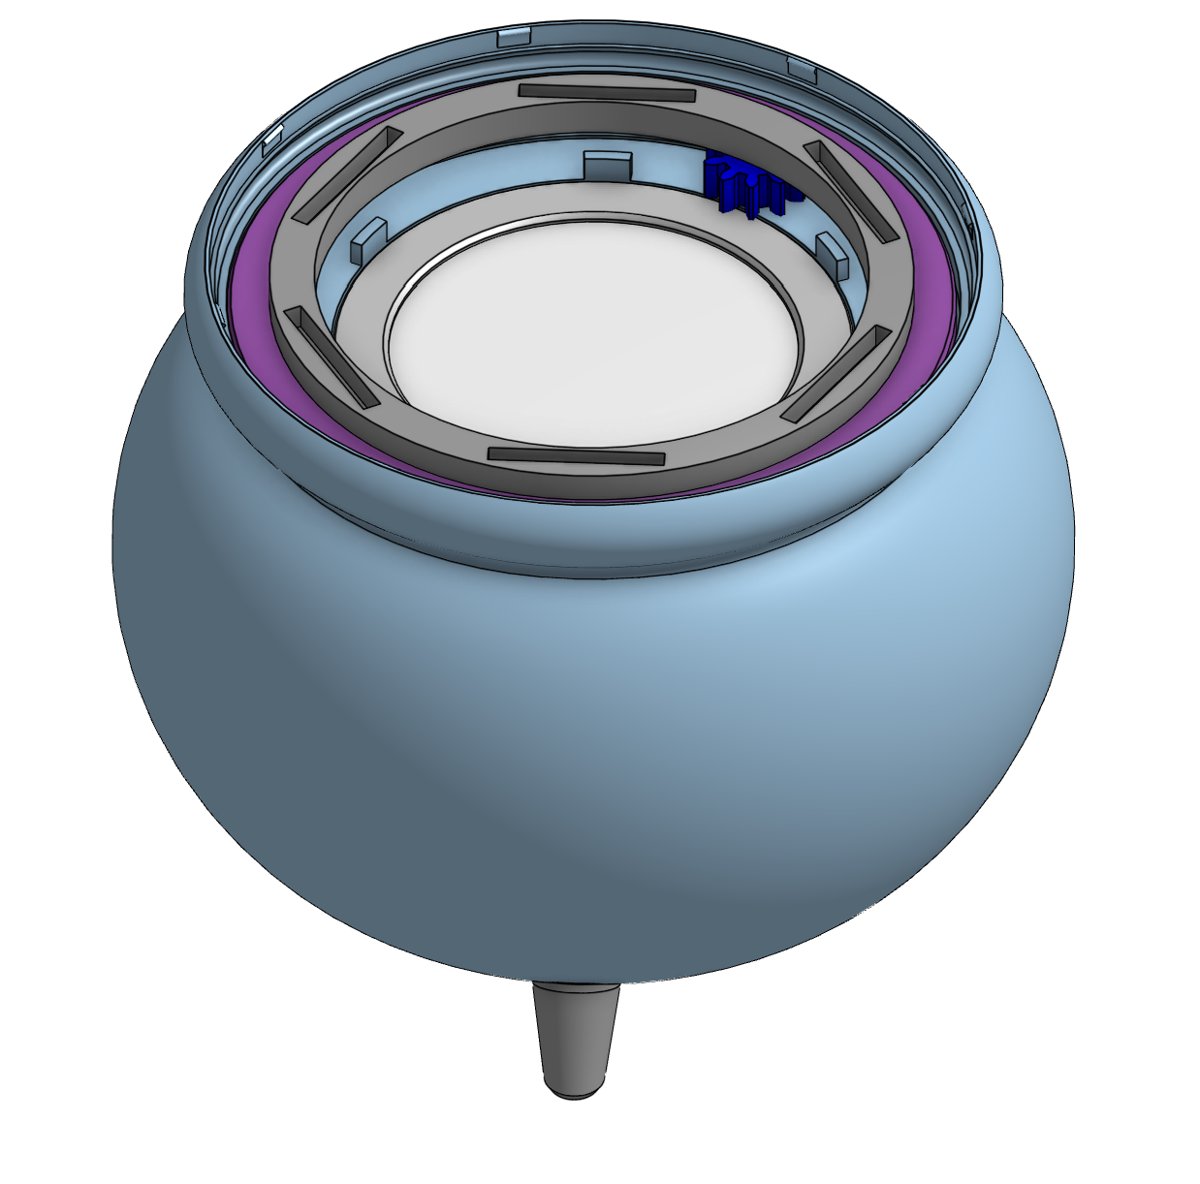
Lower the silhouette ring onto the ledge inside the cauldron rim so the ring gear's teeth mesh with the small gear. The ring should spin freely.
Install the fire
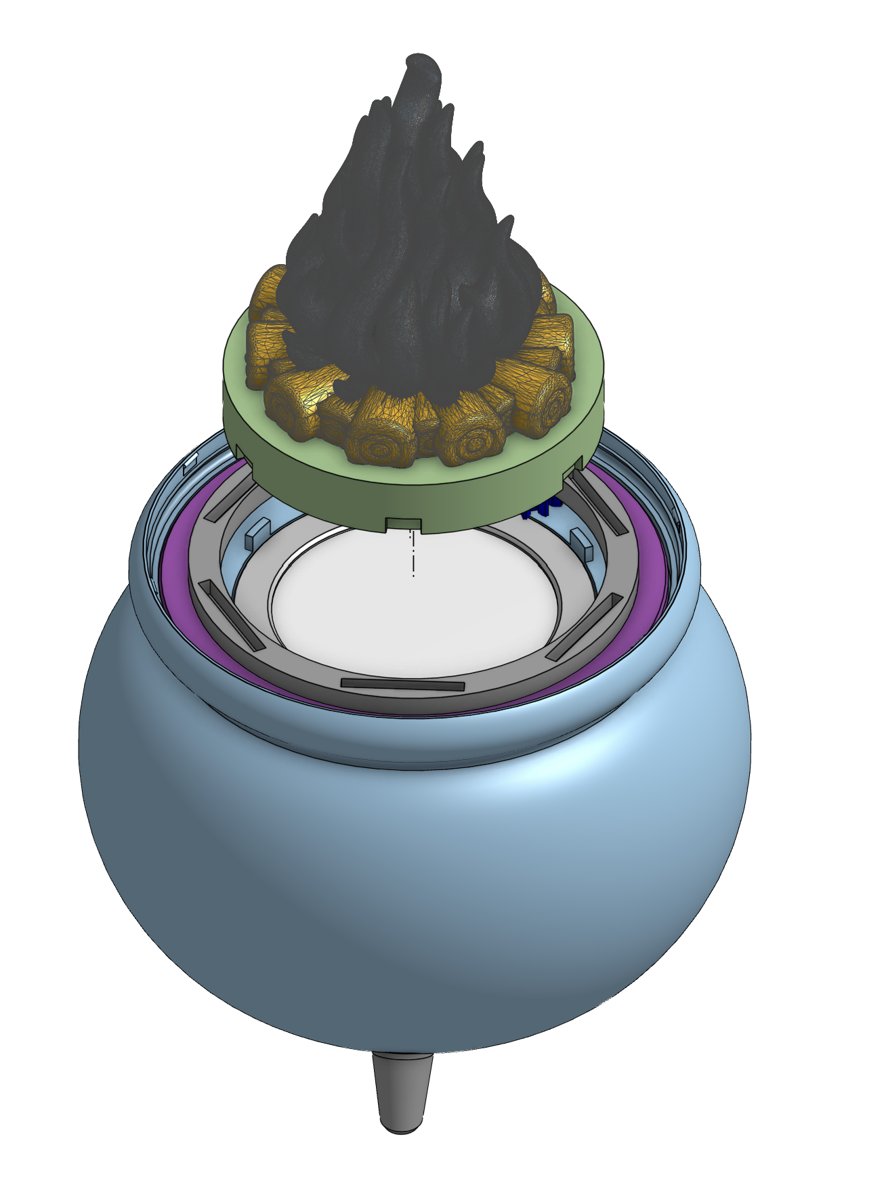
Set the fire assembly onto the LED holder. The notches in the green base fit over the holder's tabs.
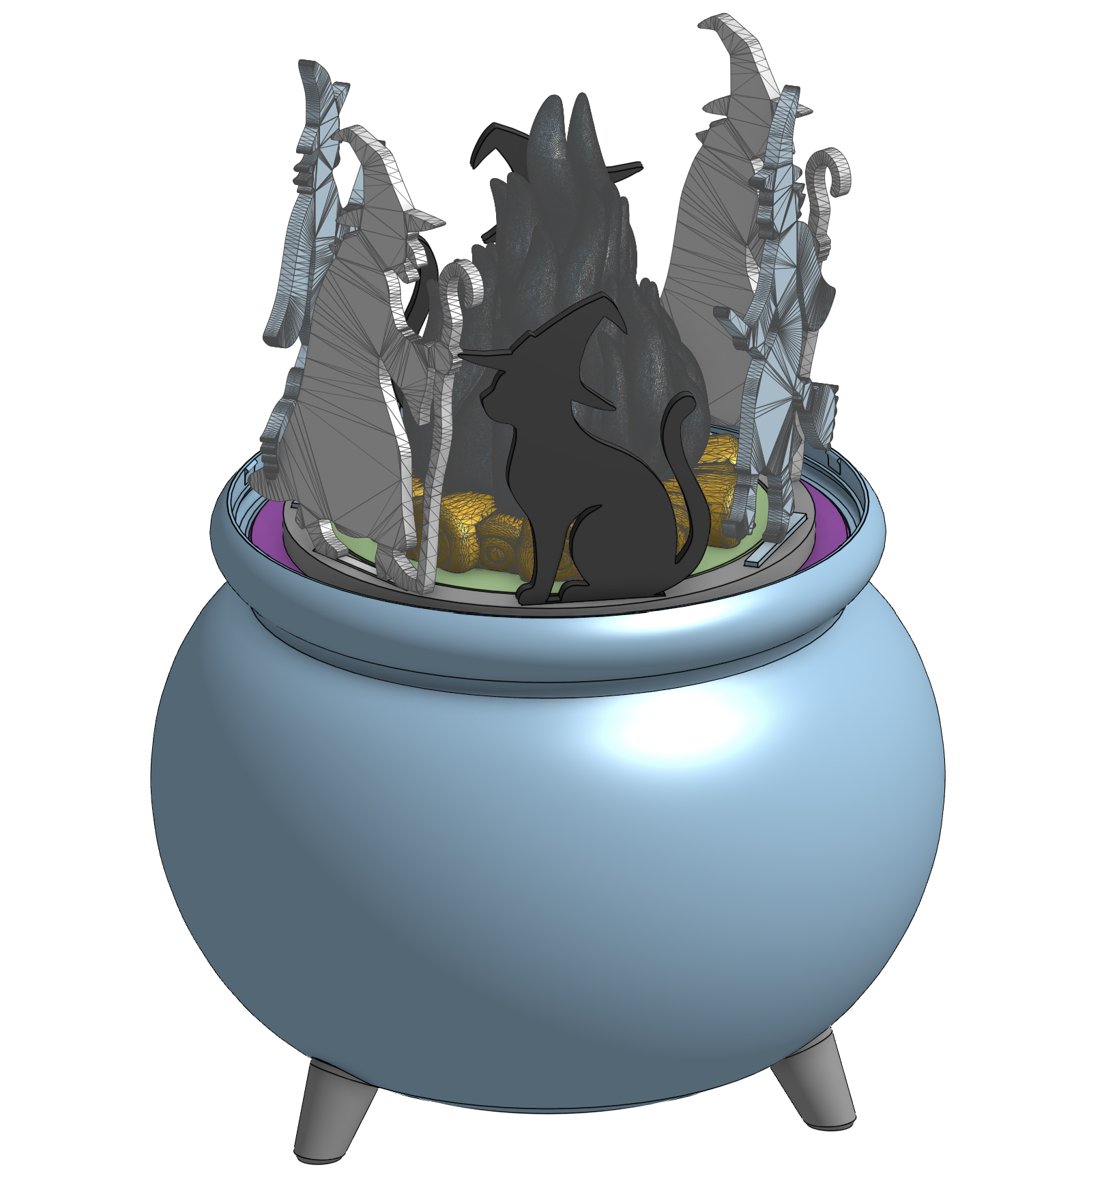
Finished
Plug in the motor and LED and enjoy.