Assembly Instructions for instructions
Welcome to the assembly instructions for your new “Reindeer Sleigh Kit Card” on MakerWorld Follow these steps carefully to ensure a successful build.
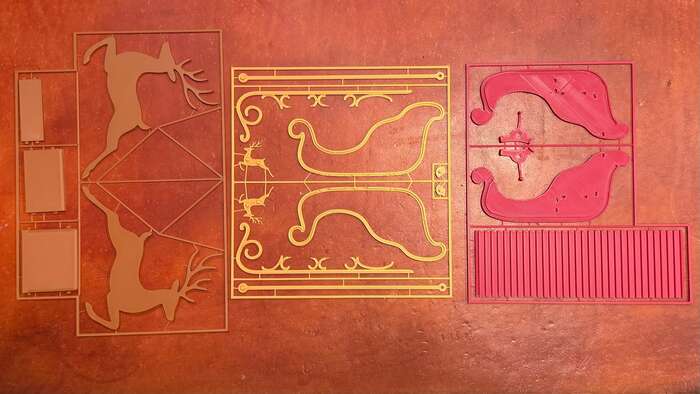
Step 00: Gather Your Materials
- Begin by gathering all the components from your kit.
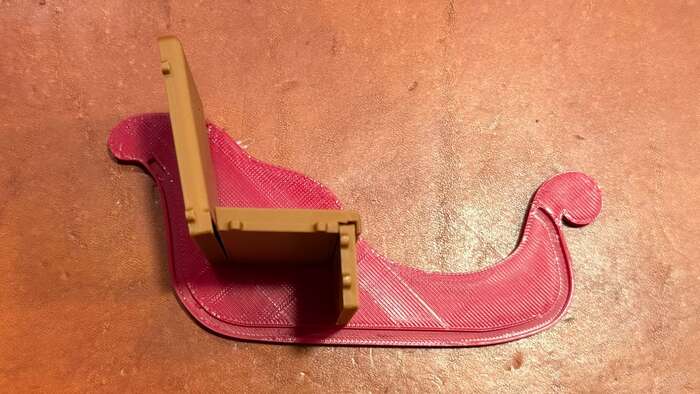
Step 01: Assemble Sleigh Seats and Sides
- Locate the seat pieces and the main sleigh side panels.
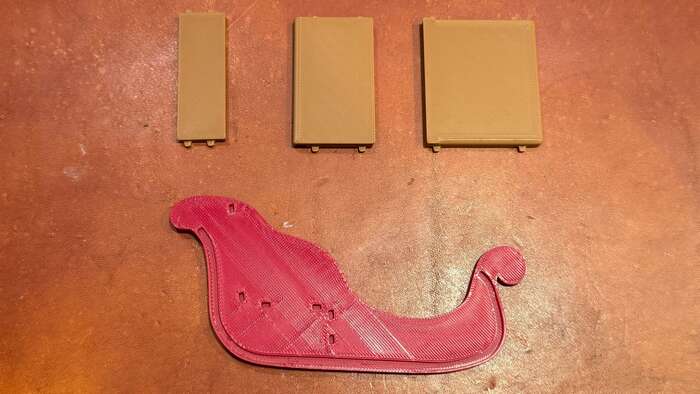
- Carefully attach each seat piece to one of the sleigh side panels, ensuring they fit securely.
Step 03: Construct the Sleigh Body
- Take the sleigh bottom piece and slot it into one of the assembled sleigh sides. The bottom piece should be somewhat flexible; gently bend it as needed to properly align and fit into the slots.
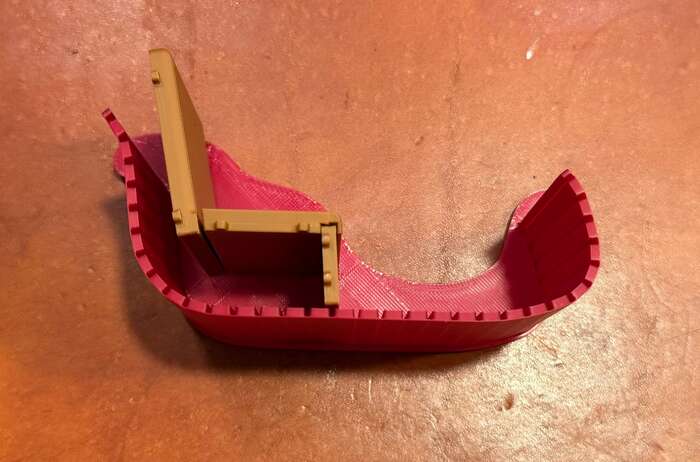
- Once the bottom piece is partially secured, attach the other sleigh side panel, enclosing the bottom piece and forming the main body of the sleigh.

Step 04: Attach Sleigh Runners
- Carefully clip the sleigh runners into the designated slots on the ornamental border pieces. Ensure they are firmly in place.
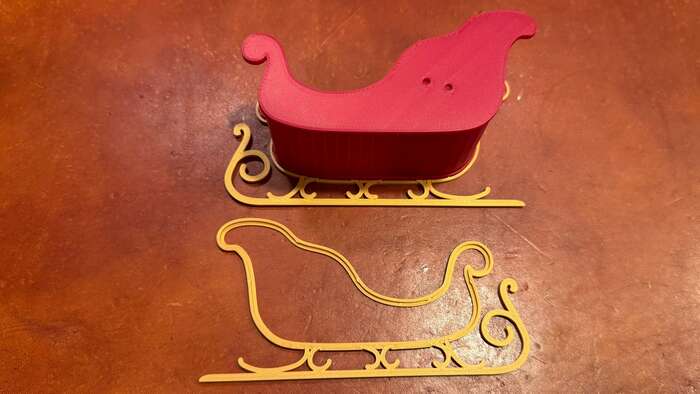
Step 05: Attach Ornamental Borders
- Attach the first ornamental border, now with the runners attached, to one of the sides of the sleigh. Align the tabs and slots for a secure fit.
- Repeat the process for the second ornamental border, attaching it to the other side of the sleigh.
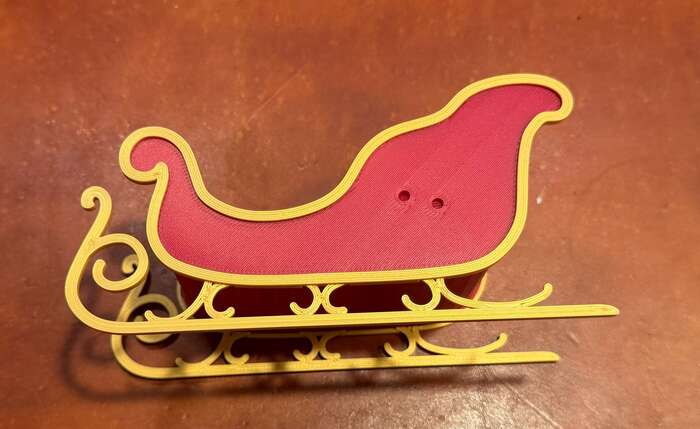
Step 06: Prepare Reindeer Ornaments
- Gather the two individual reindeer ornaments that will decorate your sleigh.
- Press the small reindeer firmly into the pre-cut holes located on the sides of the sleigh, as indicated in the image.
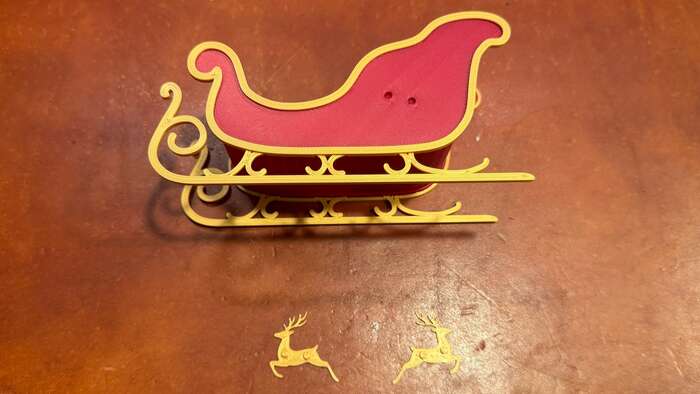
Step 07: Assemble the Pull Bar and Collar
- Identify the components for the pull bar and the reindeer collar.
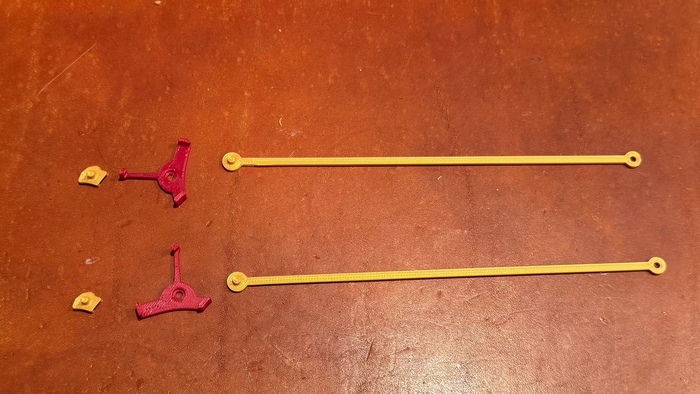
- Assemble the collar piece as shown, creating the complete collar structure.
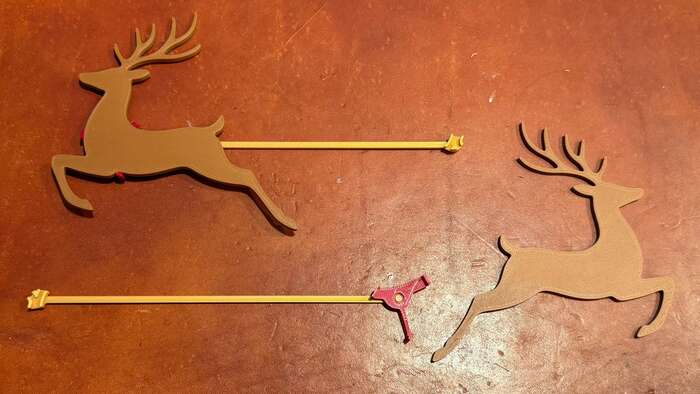
Step 08: Attach Reindeer and Pull Bar to Sleigh
- Ensure your reindeer are positioned and ready to be attached to the sleigh’s harness points.
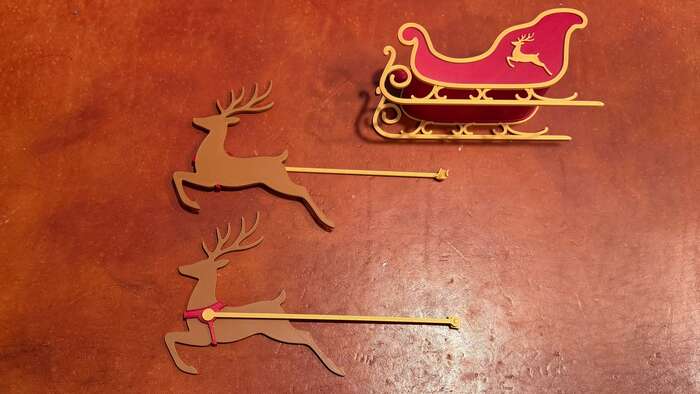
- Attach the assembled pull bar to the sleigh runner, ensuring a secure connection. Refer to the close-up image for proper alignment.

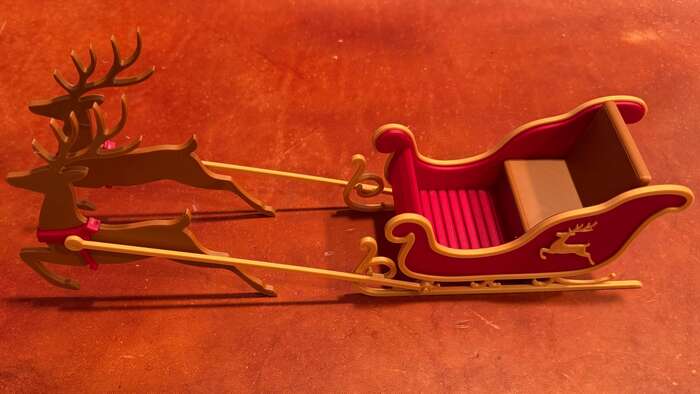
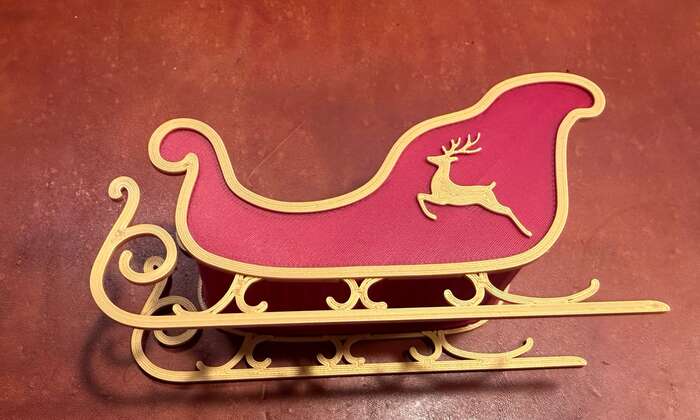
Step 09: Finished!
Congratulations! Your “instructions” project is now complete.