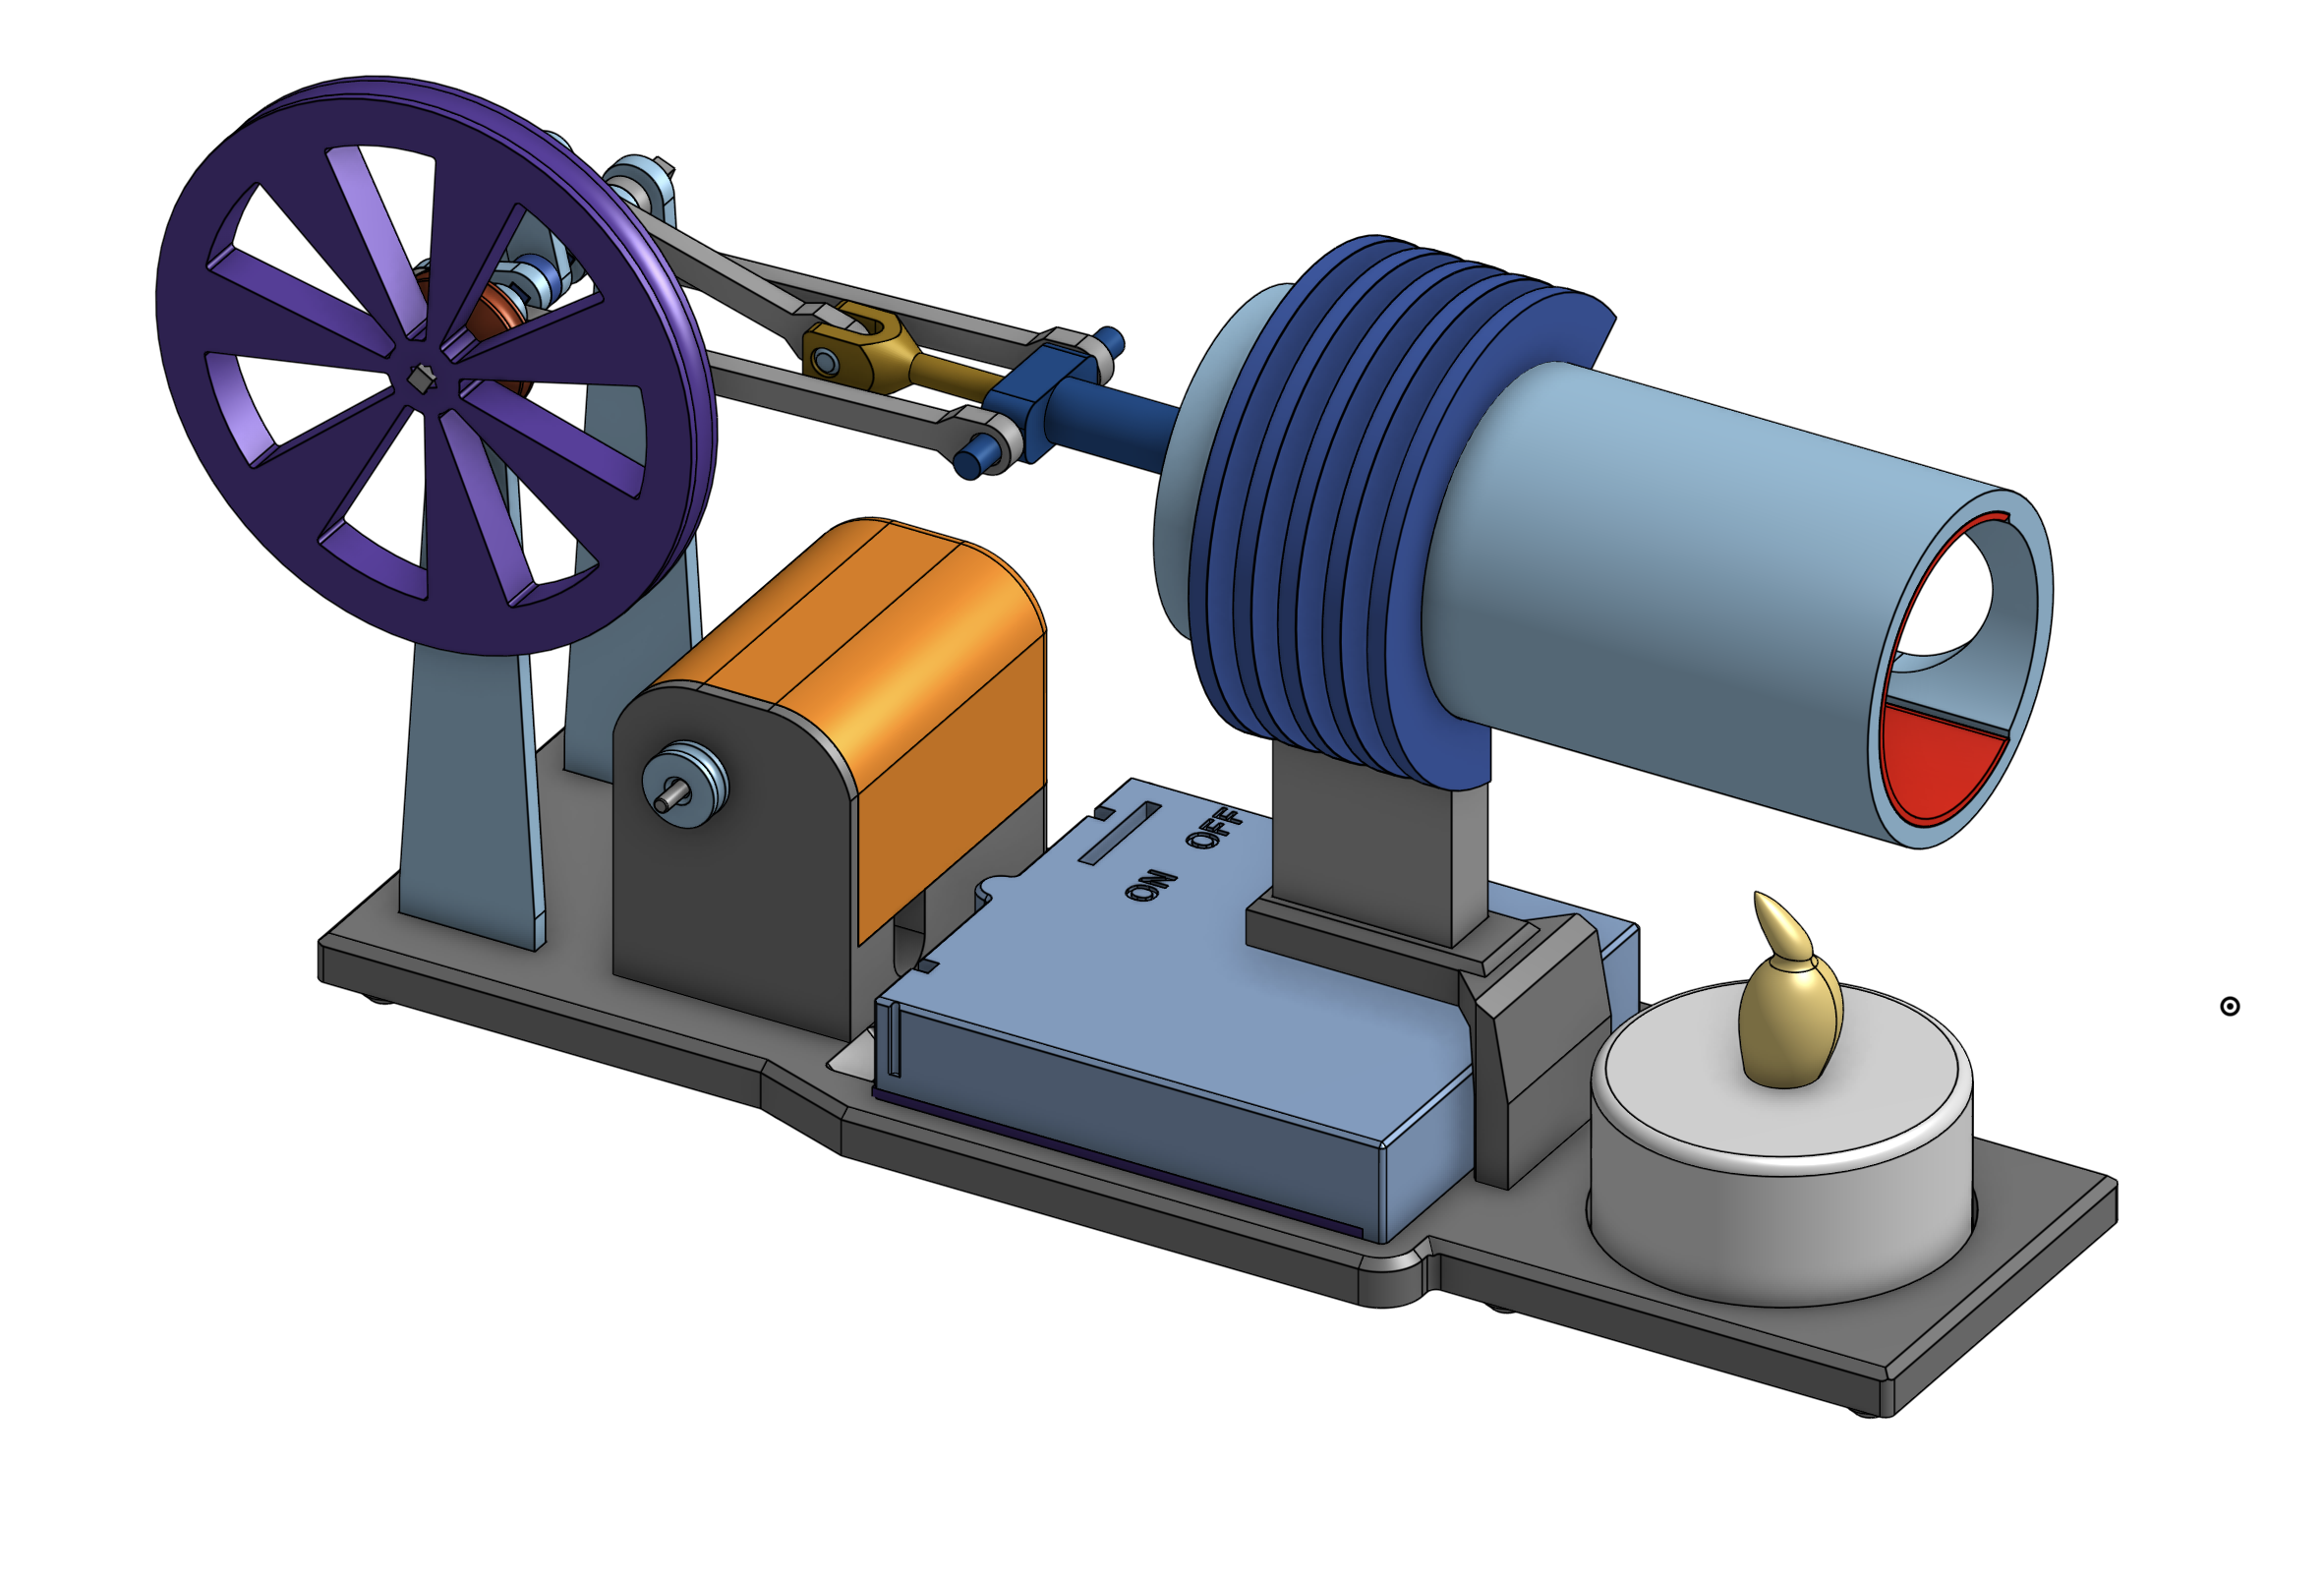
Sterling Engine Instructions
This document provides detailed assembly instructions for your Sterling Engine project. Please follow each step carefully, referencing the accompanying images to ensure correct assembly.
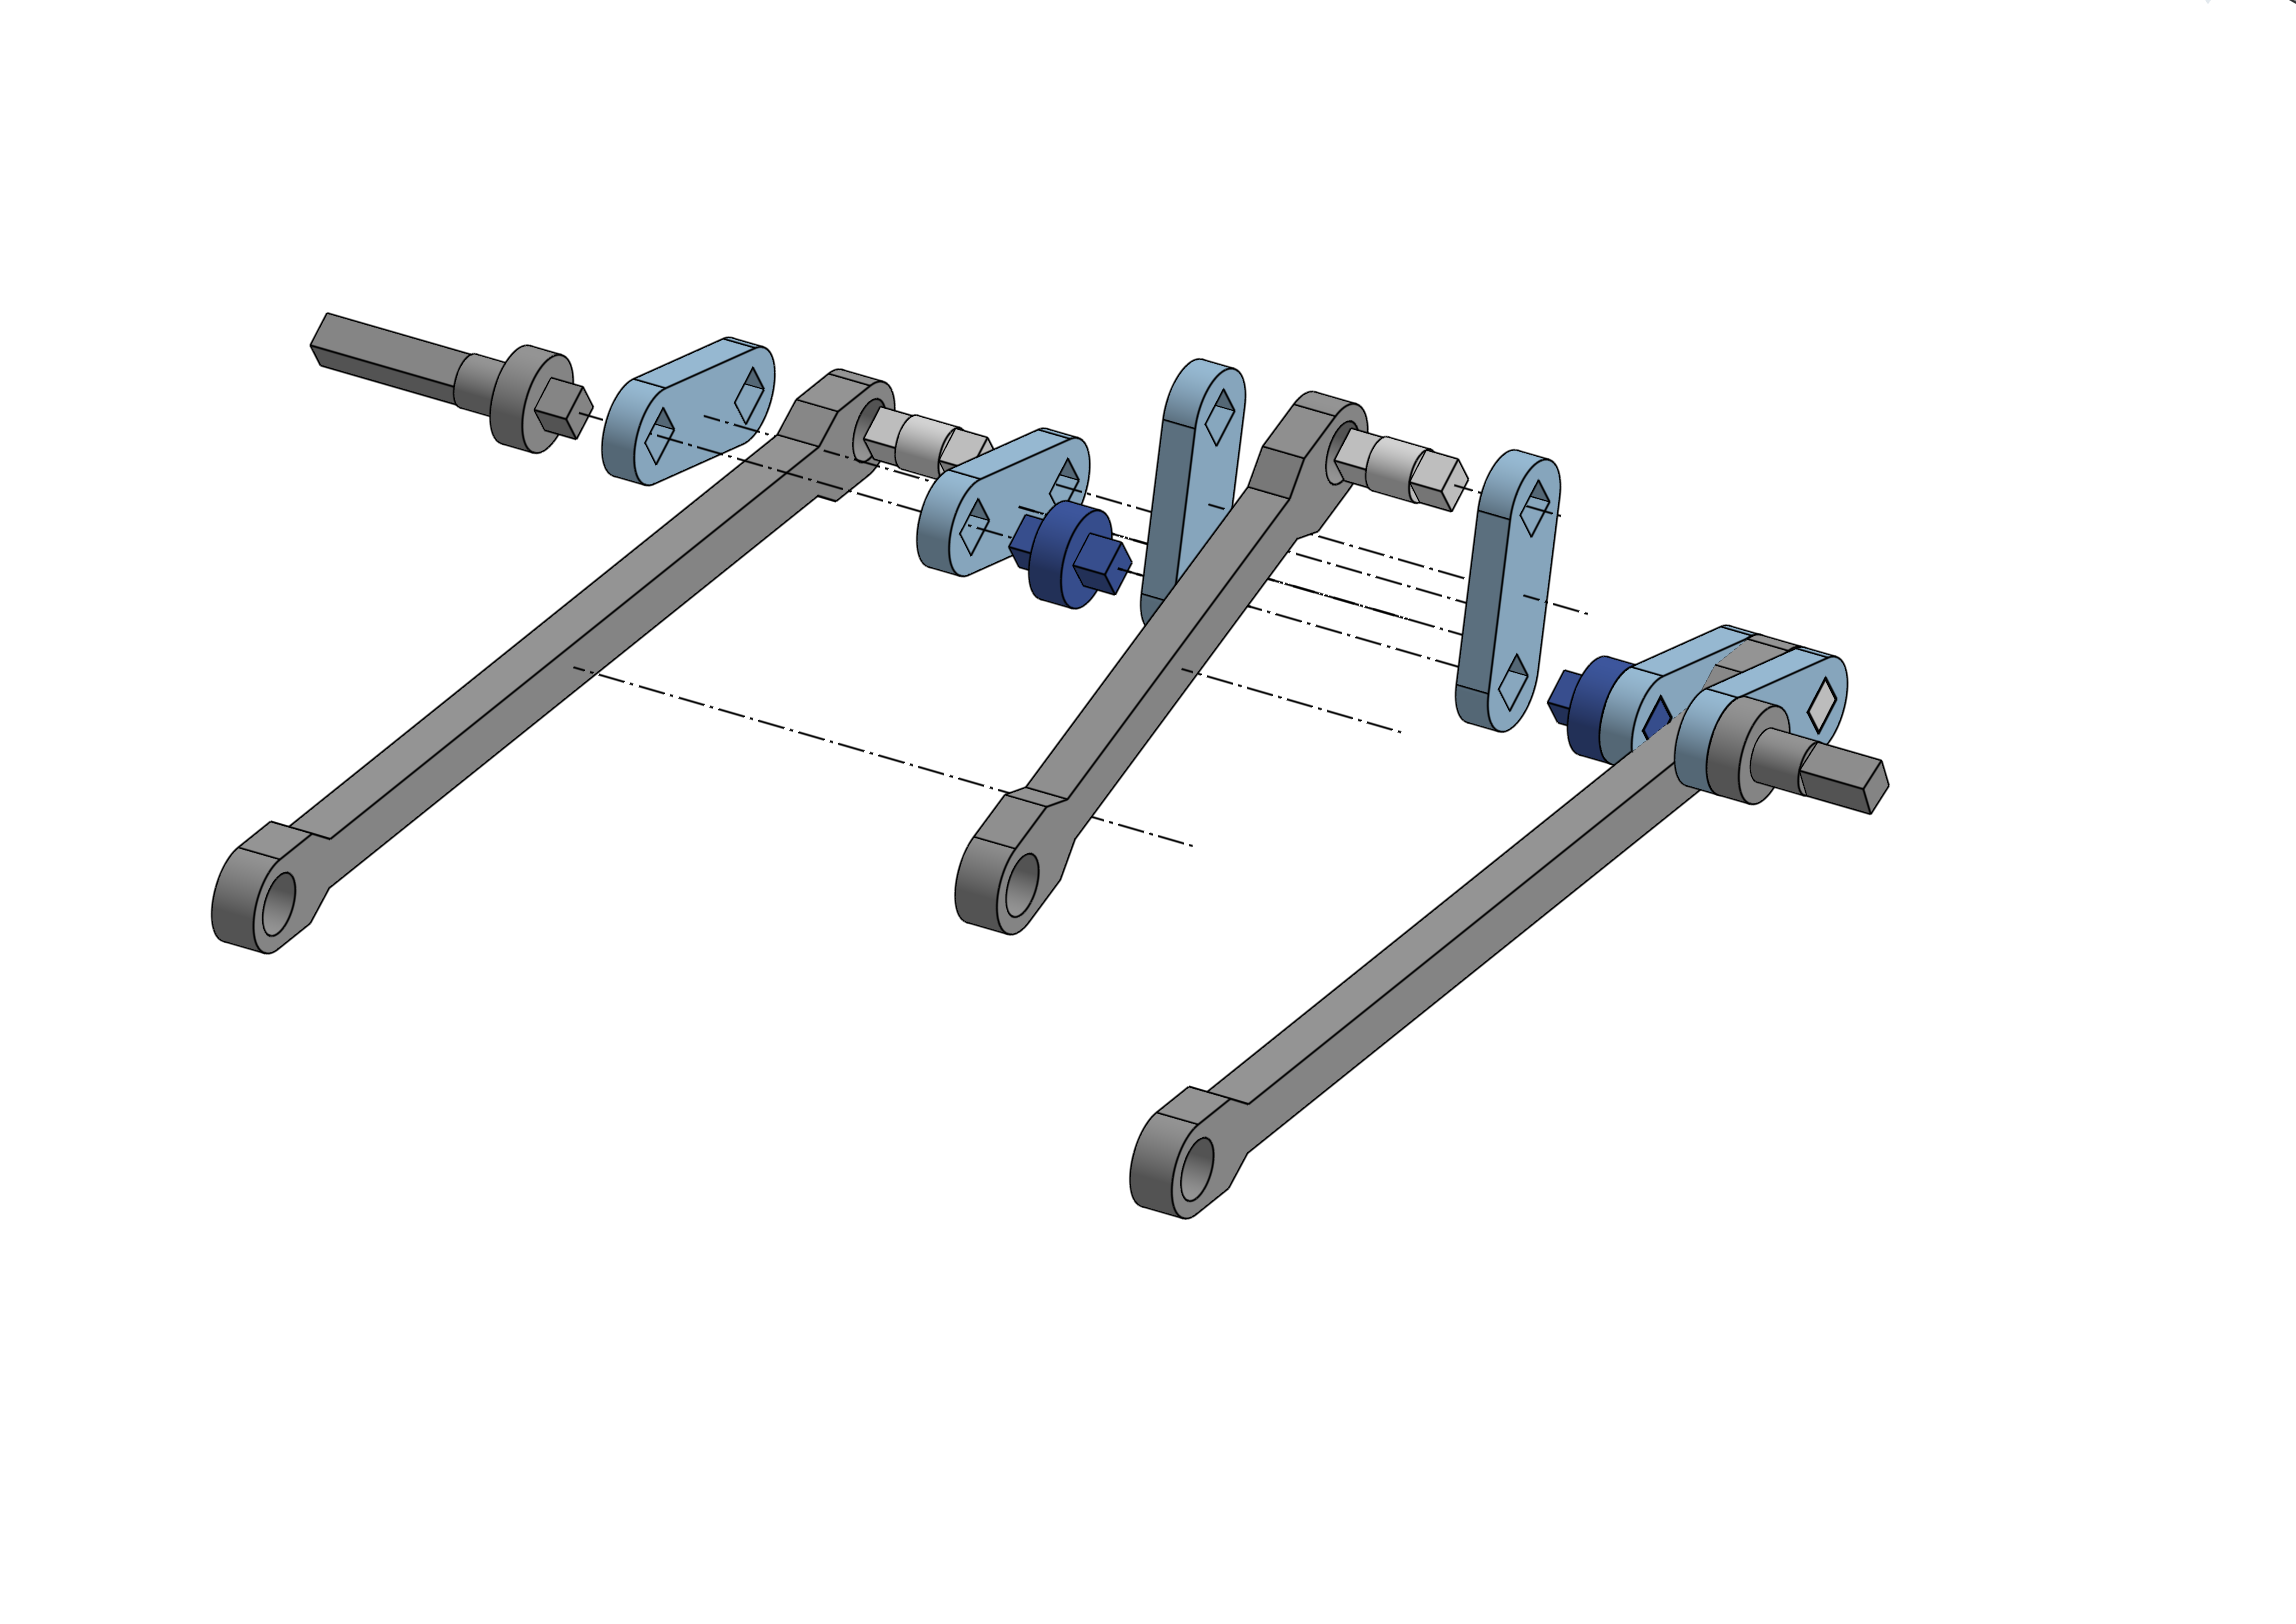
01 Crank
-
Gather Crank Components (Three-Quarters View) Gather all the necessary components for the crank assembly.
-
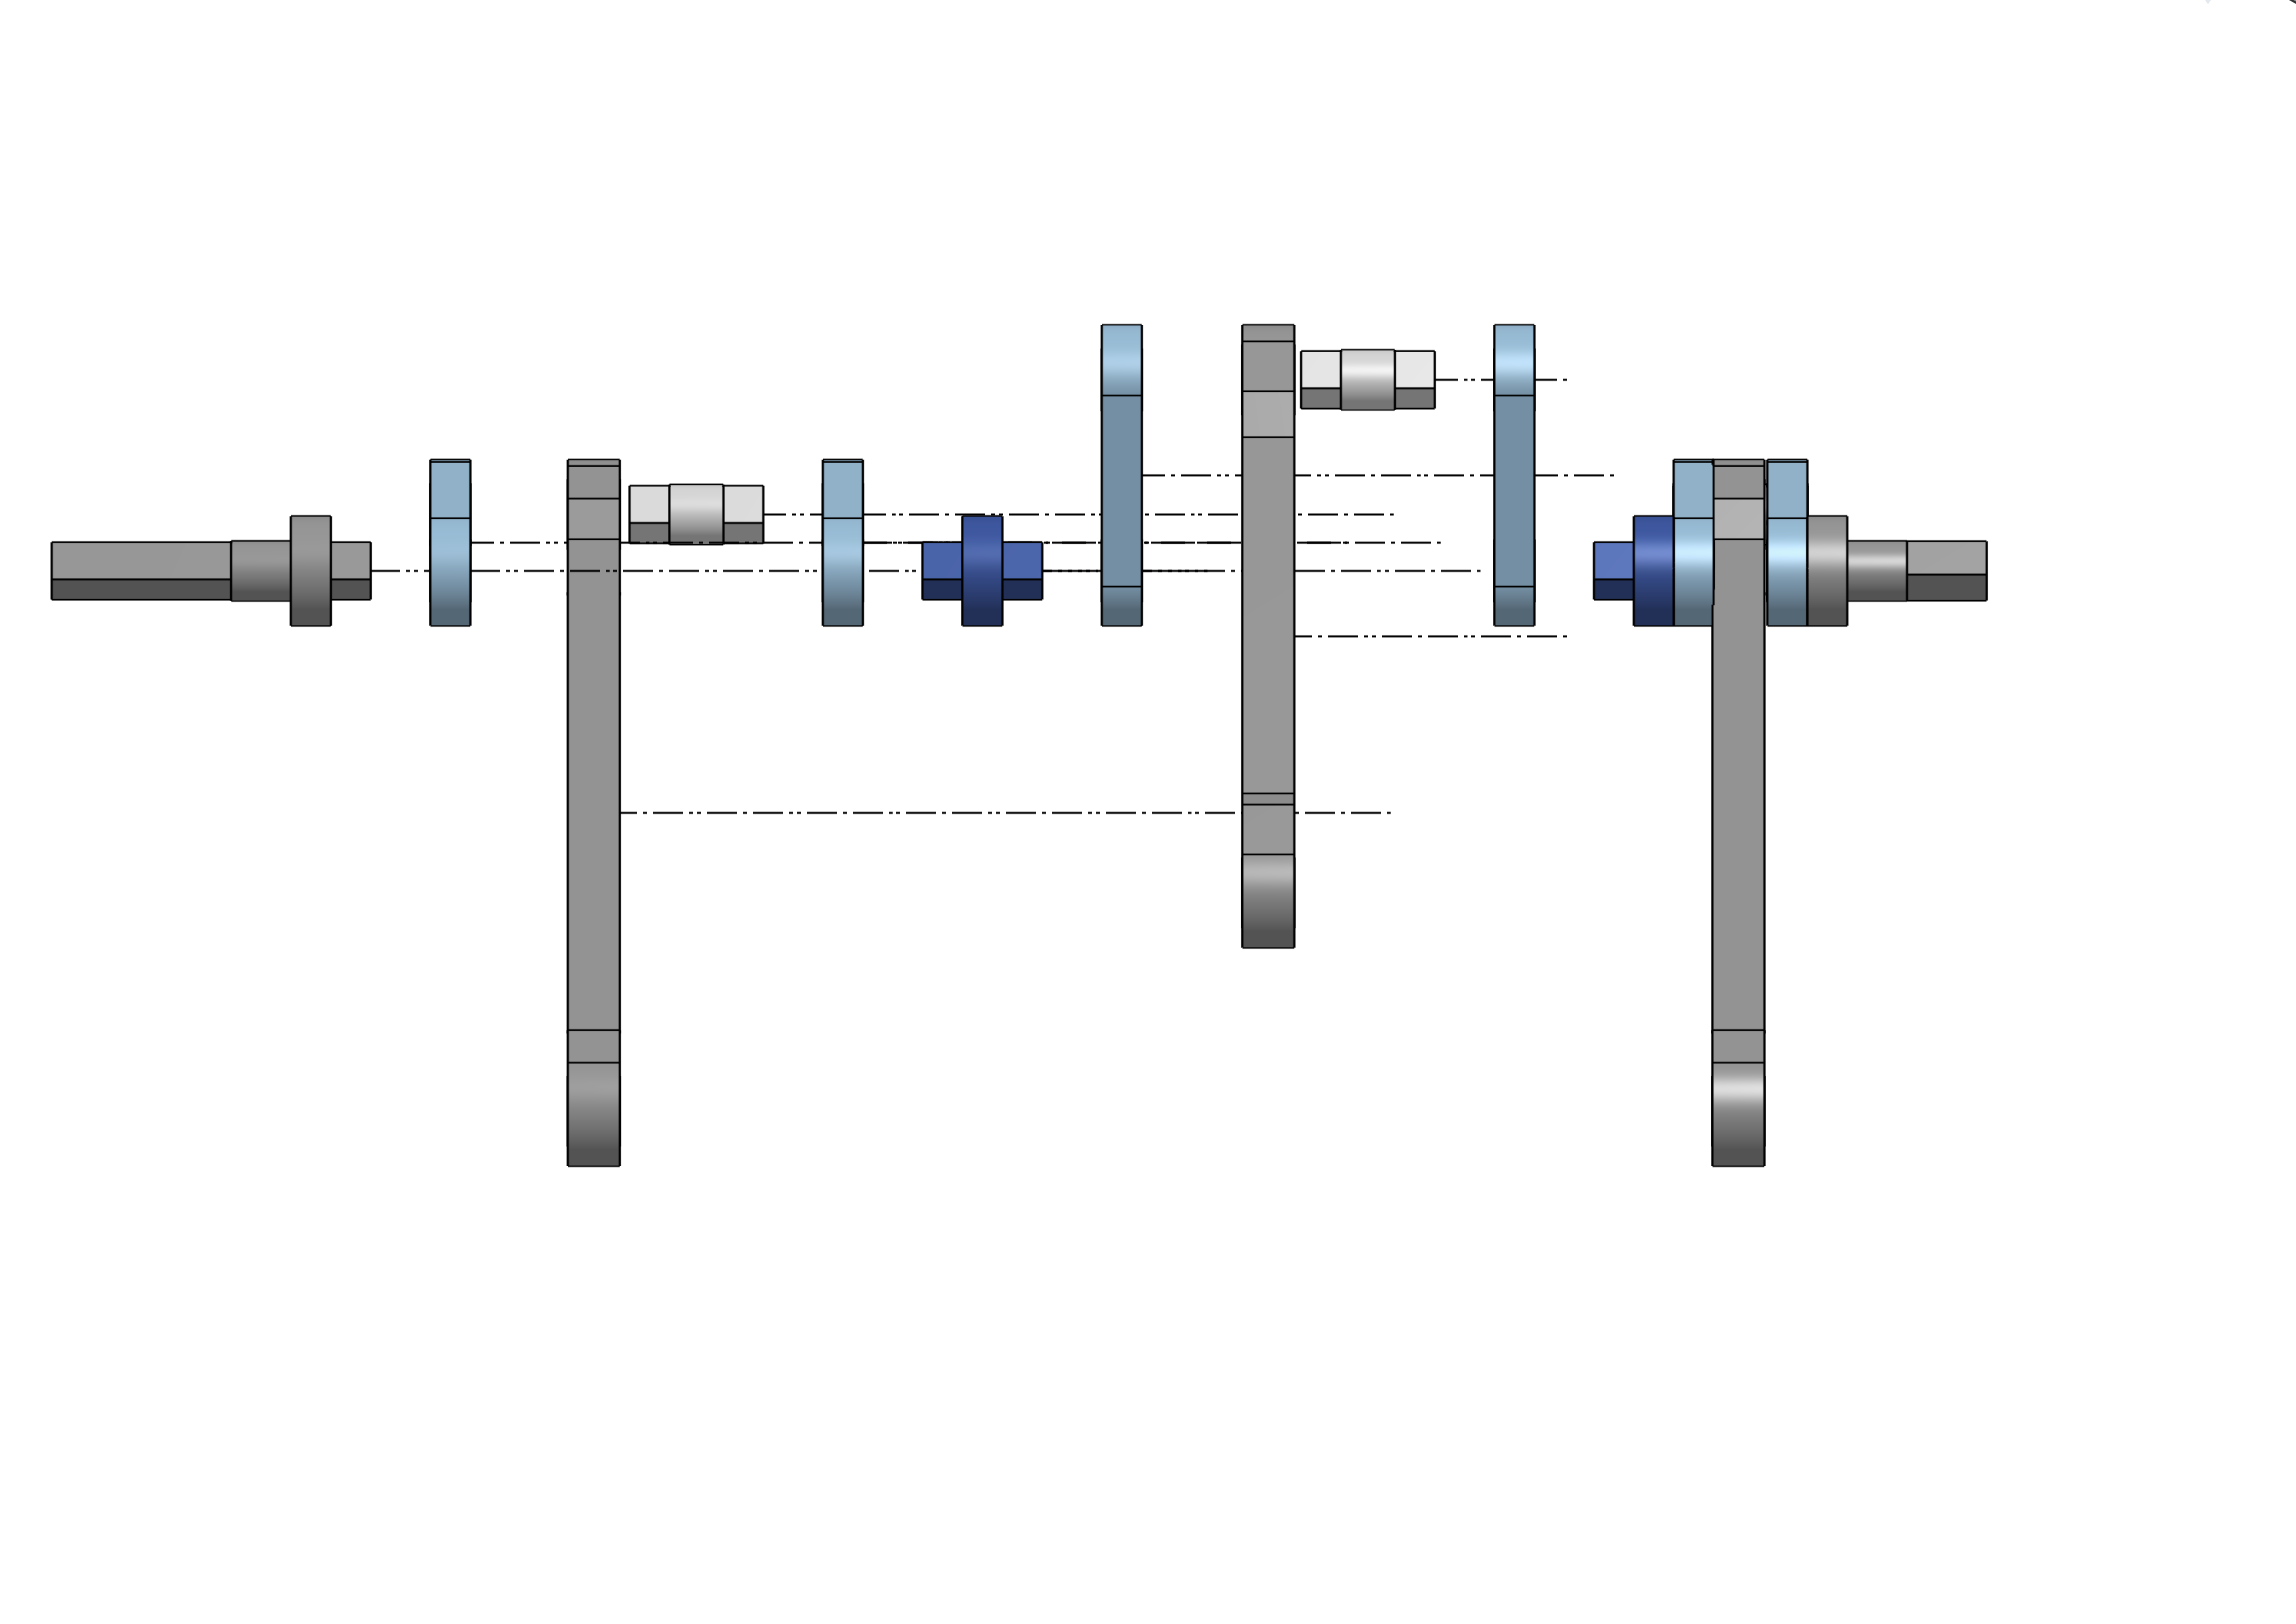
Gather Crank Components (Top View) Ensure all crank pieces are present and accounted for, as shown from a top view.
-
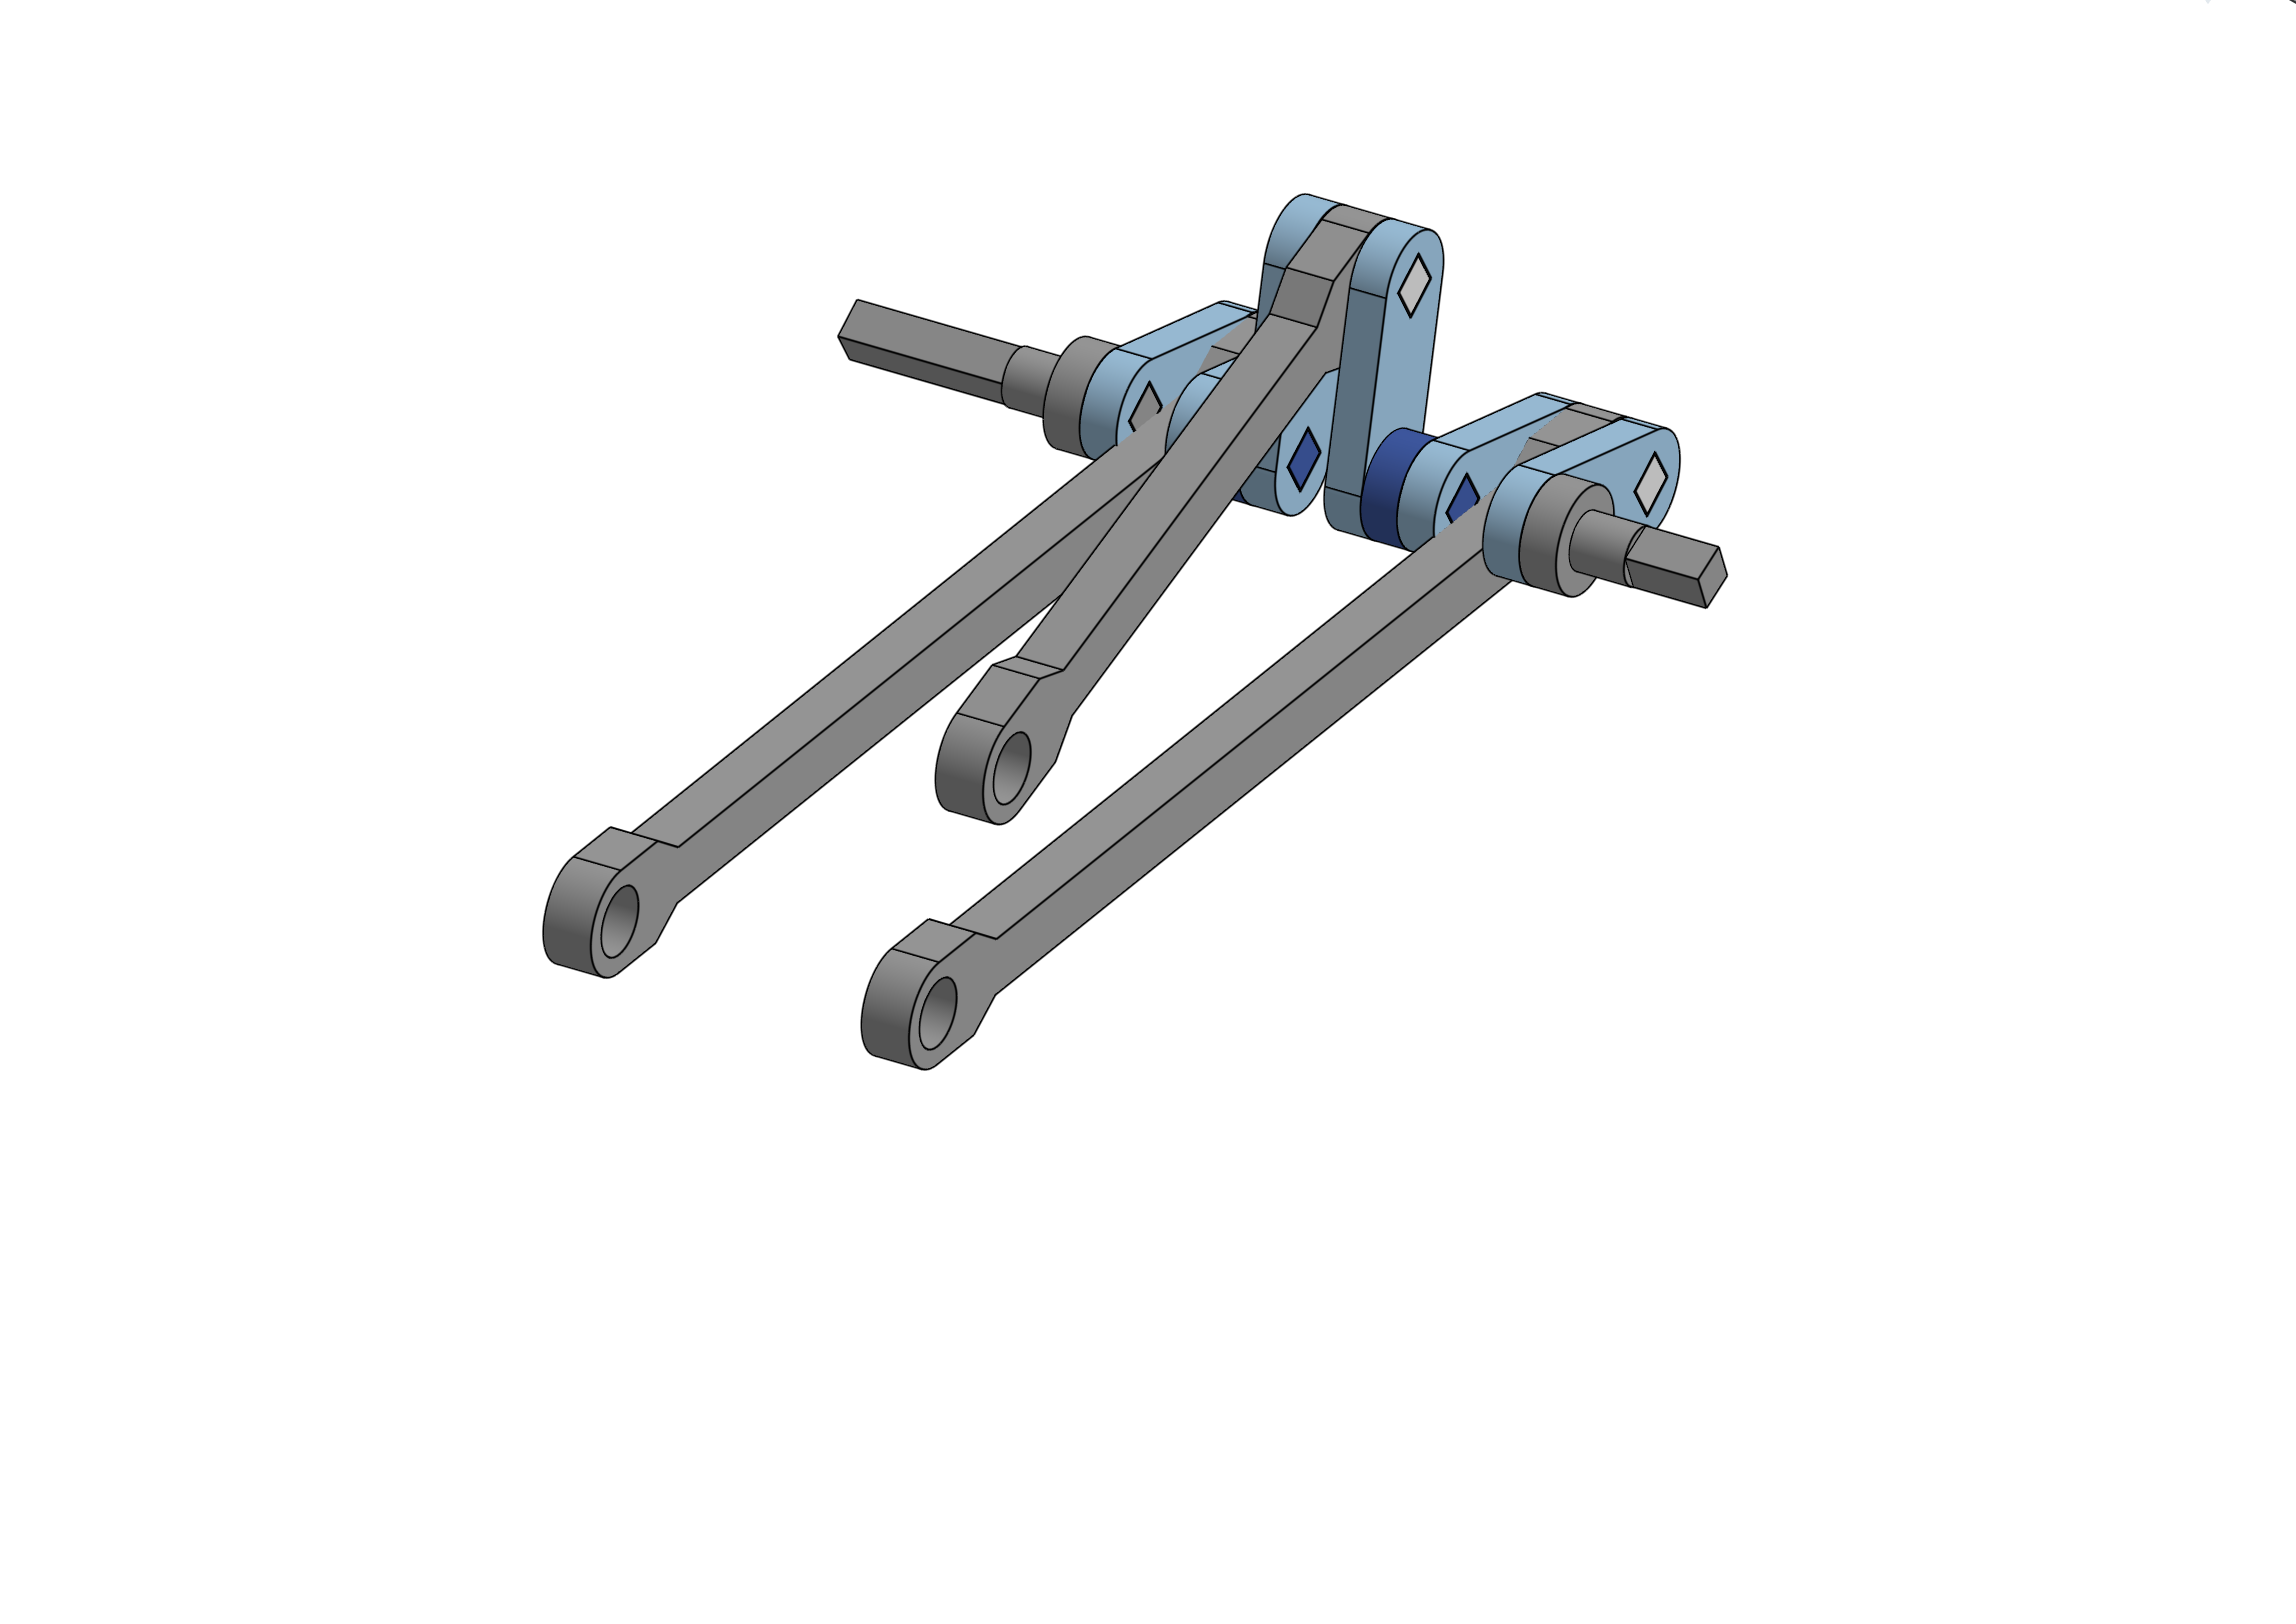
Assemble Crank (Quarter View) Begin assembling the crank, paying close attention to the orientation as depicted in the quarter view.
-
Complete Crank (Side View) Inspect your completed crank assembly from a side view to ensure it matches the reference.
02 Cylinder
-
Insert Colored Liners Carefully insert the colored liners into the cylinder body. Ensure they are seated correctly.
-
Gather Piston Pieces Collect all the individual components required for the piston assembly.

-
Glue Hollow Shaft into Working Piston Take the working piston and securely glue the hollow shaft into its designated slot.
-
Insert Displacer Piston Shaft Through Working Piston Guide the shaft of the displacer piston through the center of the working piston assembly.
-
Glue Shaft into Displacer Piston Once the shaft is correctly positioned, glue it firmly into the displacer piston.
03 Base
-
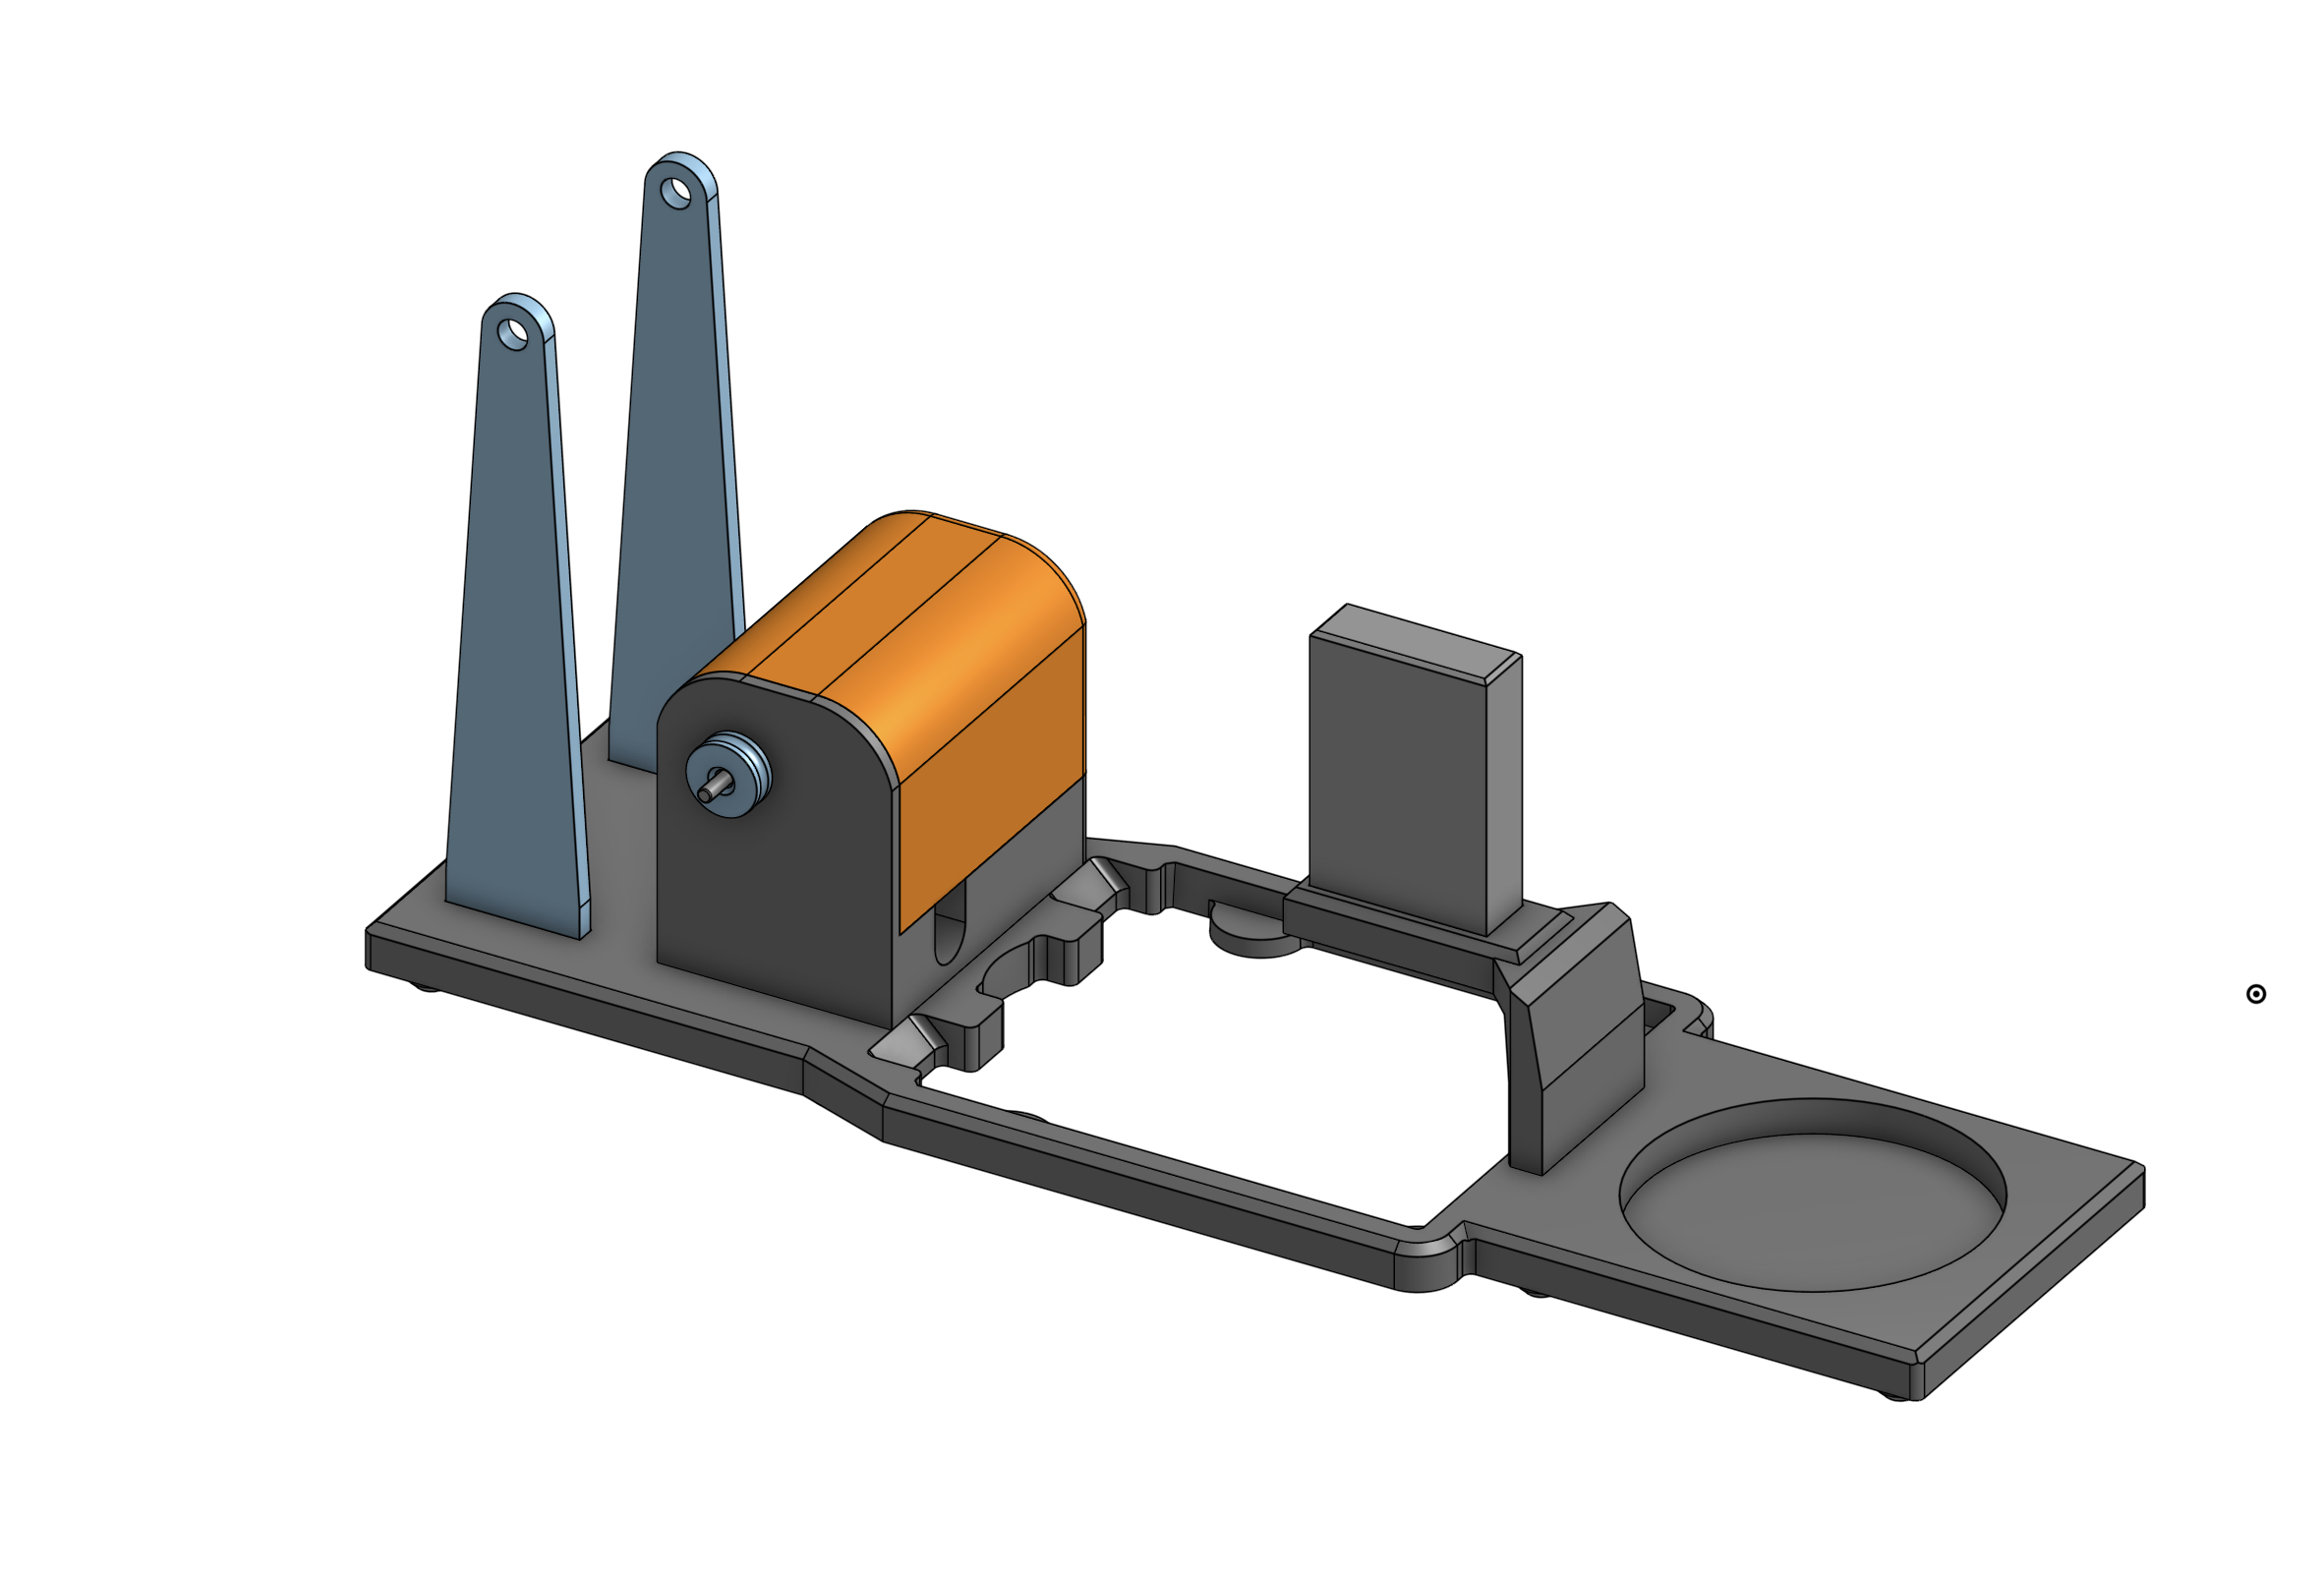
Attach Legs and Support Begin by attaching the main legs and support structures to the base plate.
-
Gather Motor Pieces Gather all the components necessary for the motor assembly.
-
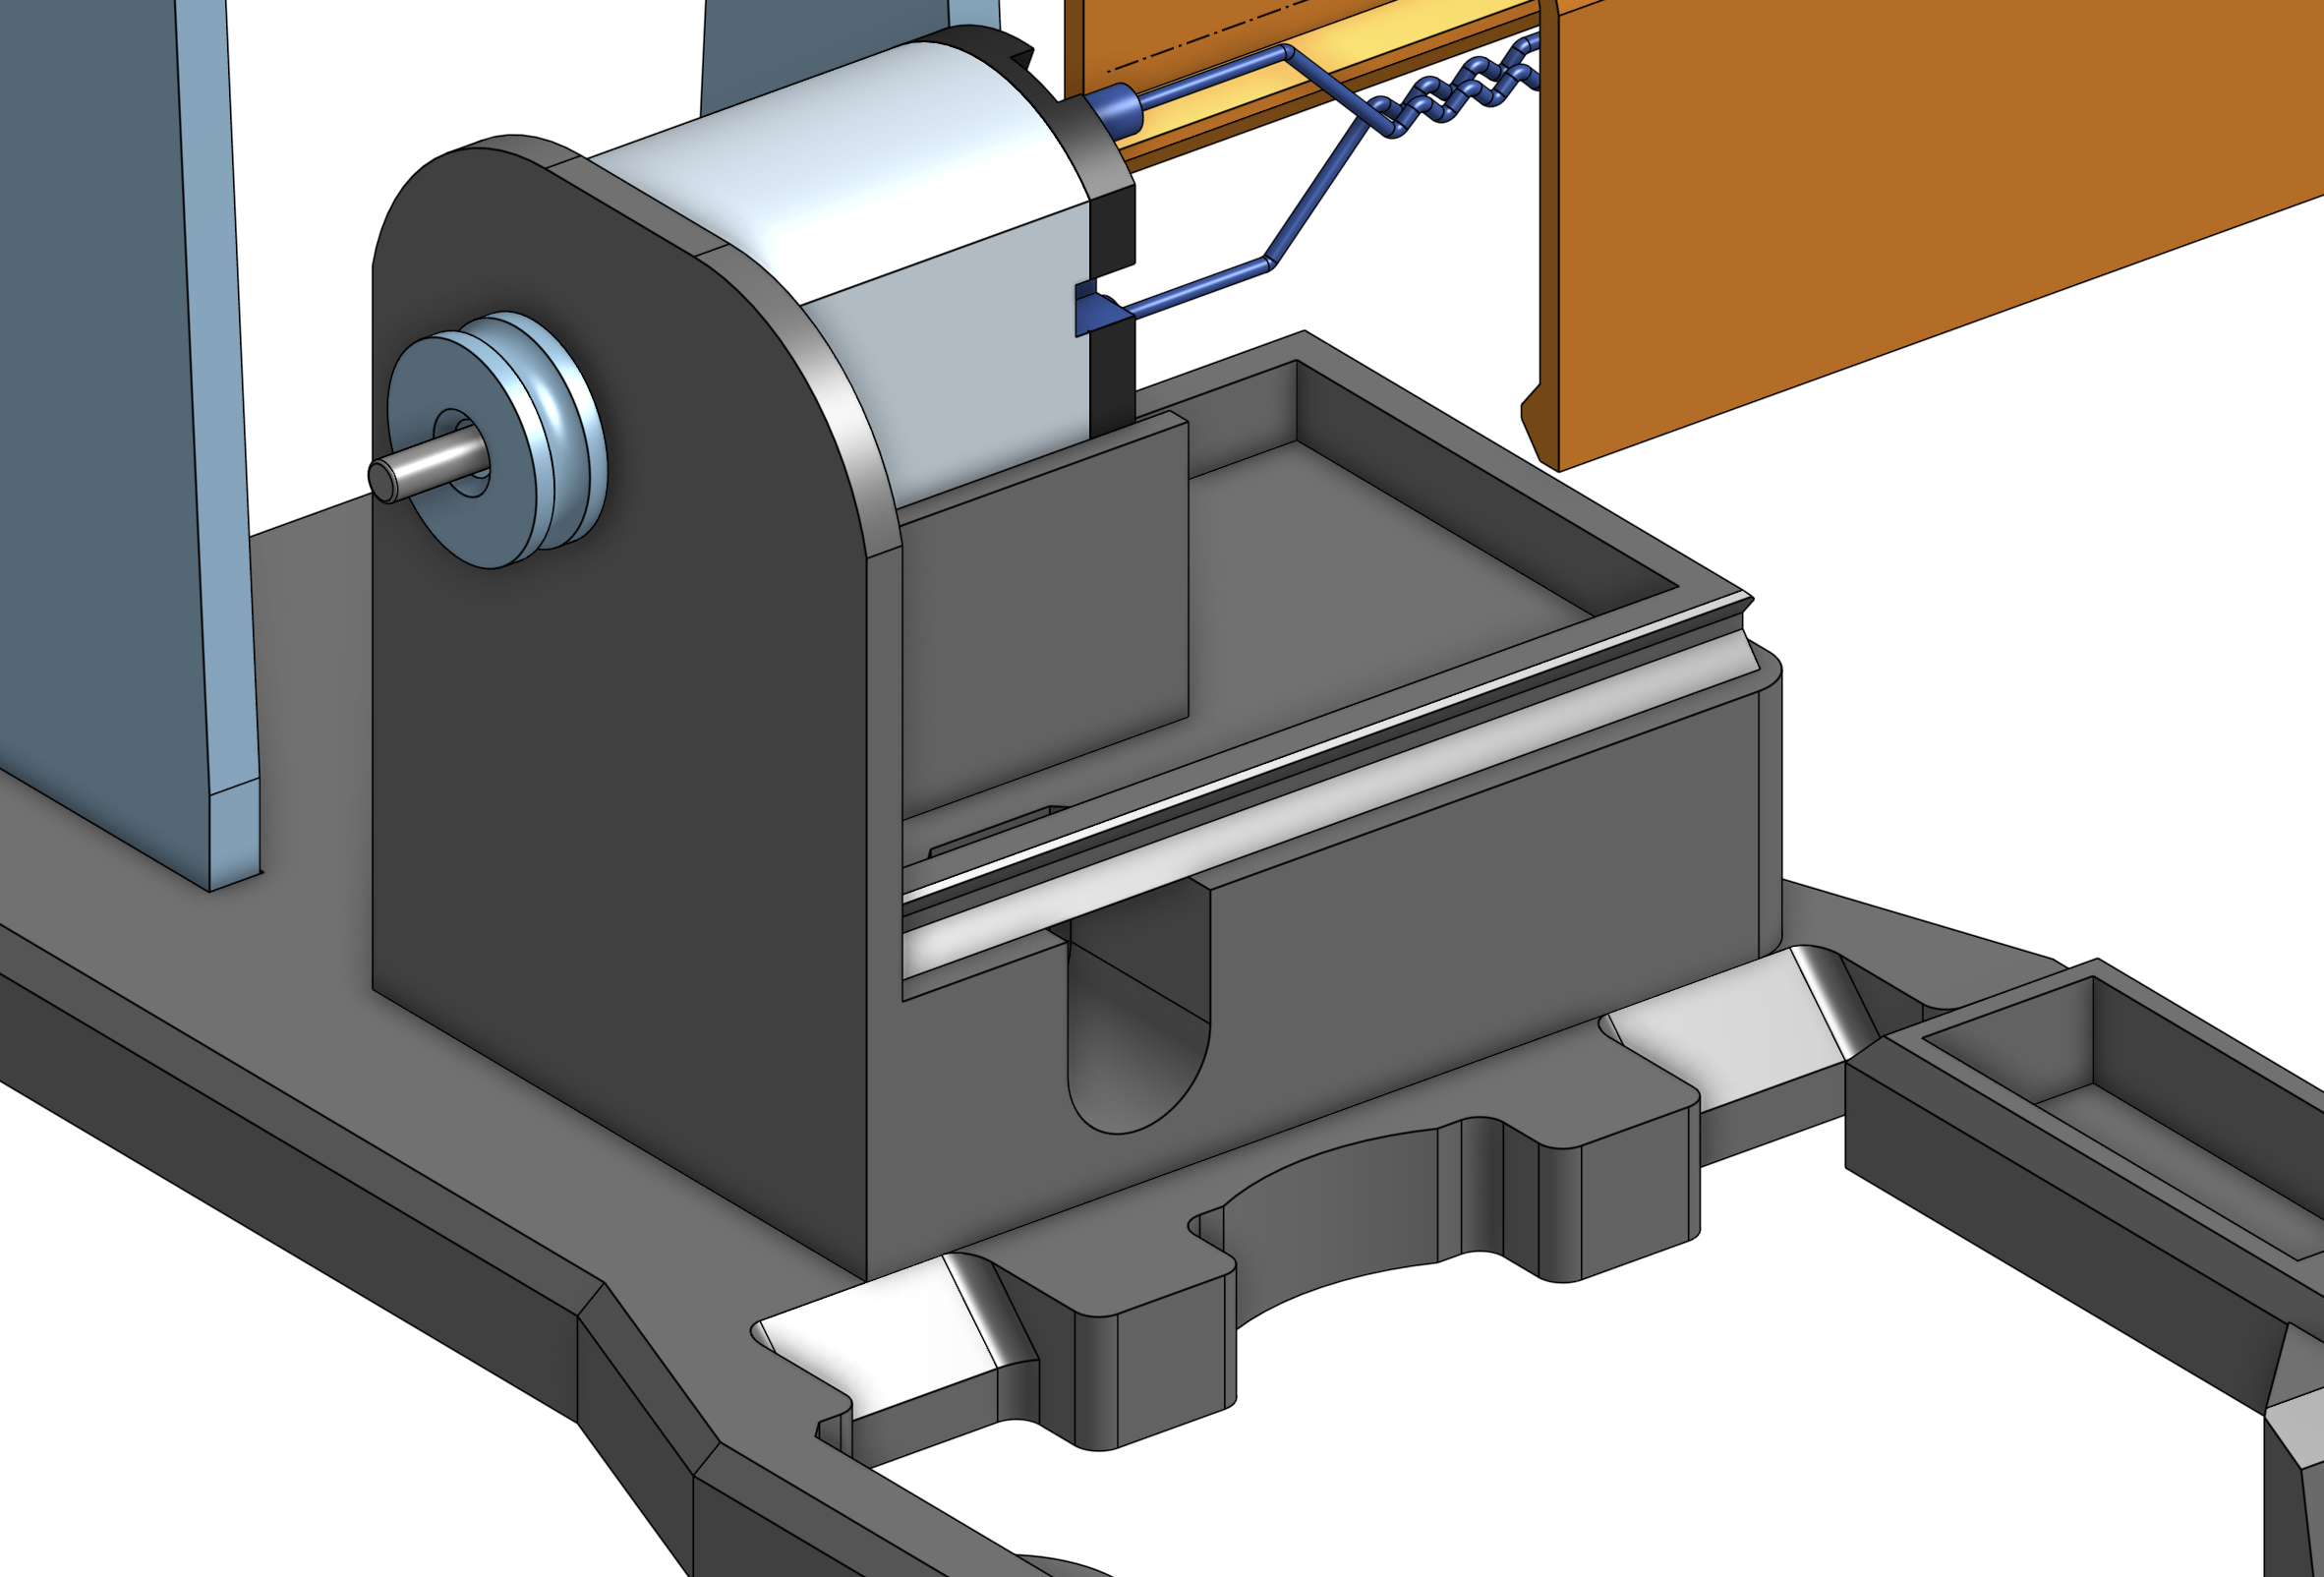
Place Motor Carefully place the motor into its designated mounting position on the base.

-
Attach Pulley Securely attach the pulley to the motor shaft.
-
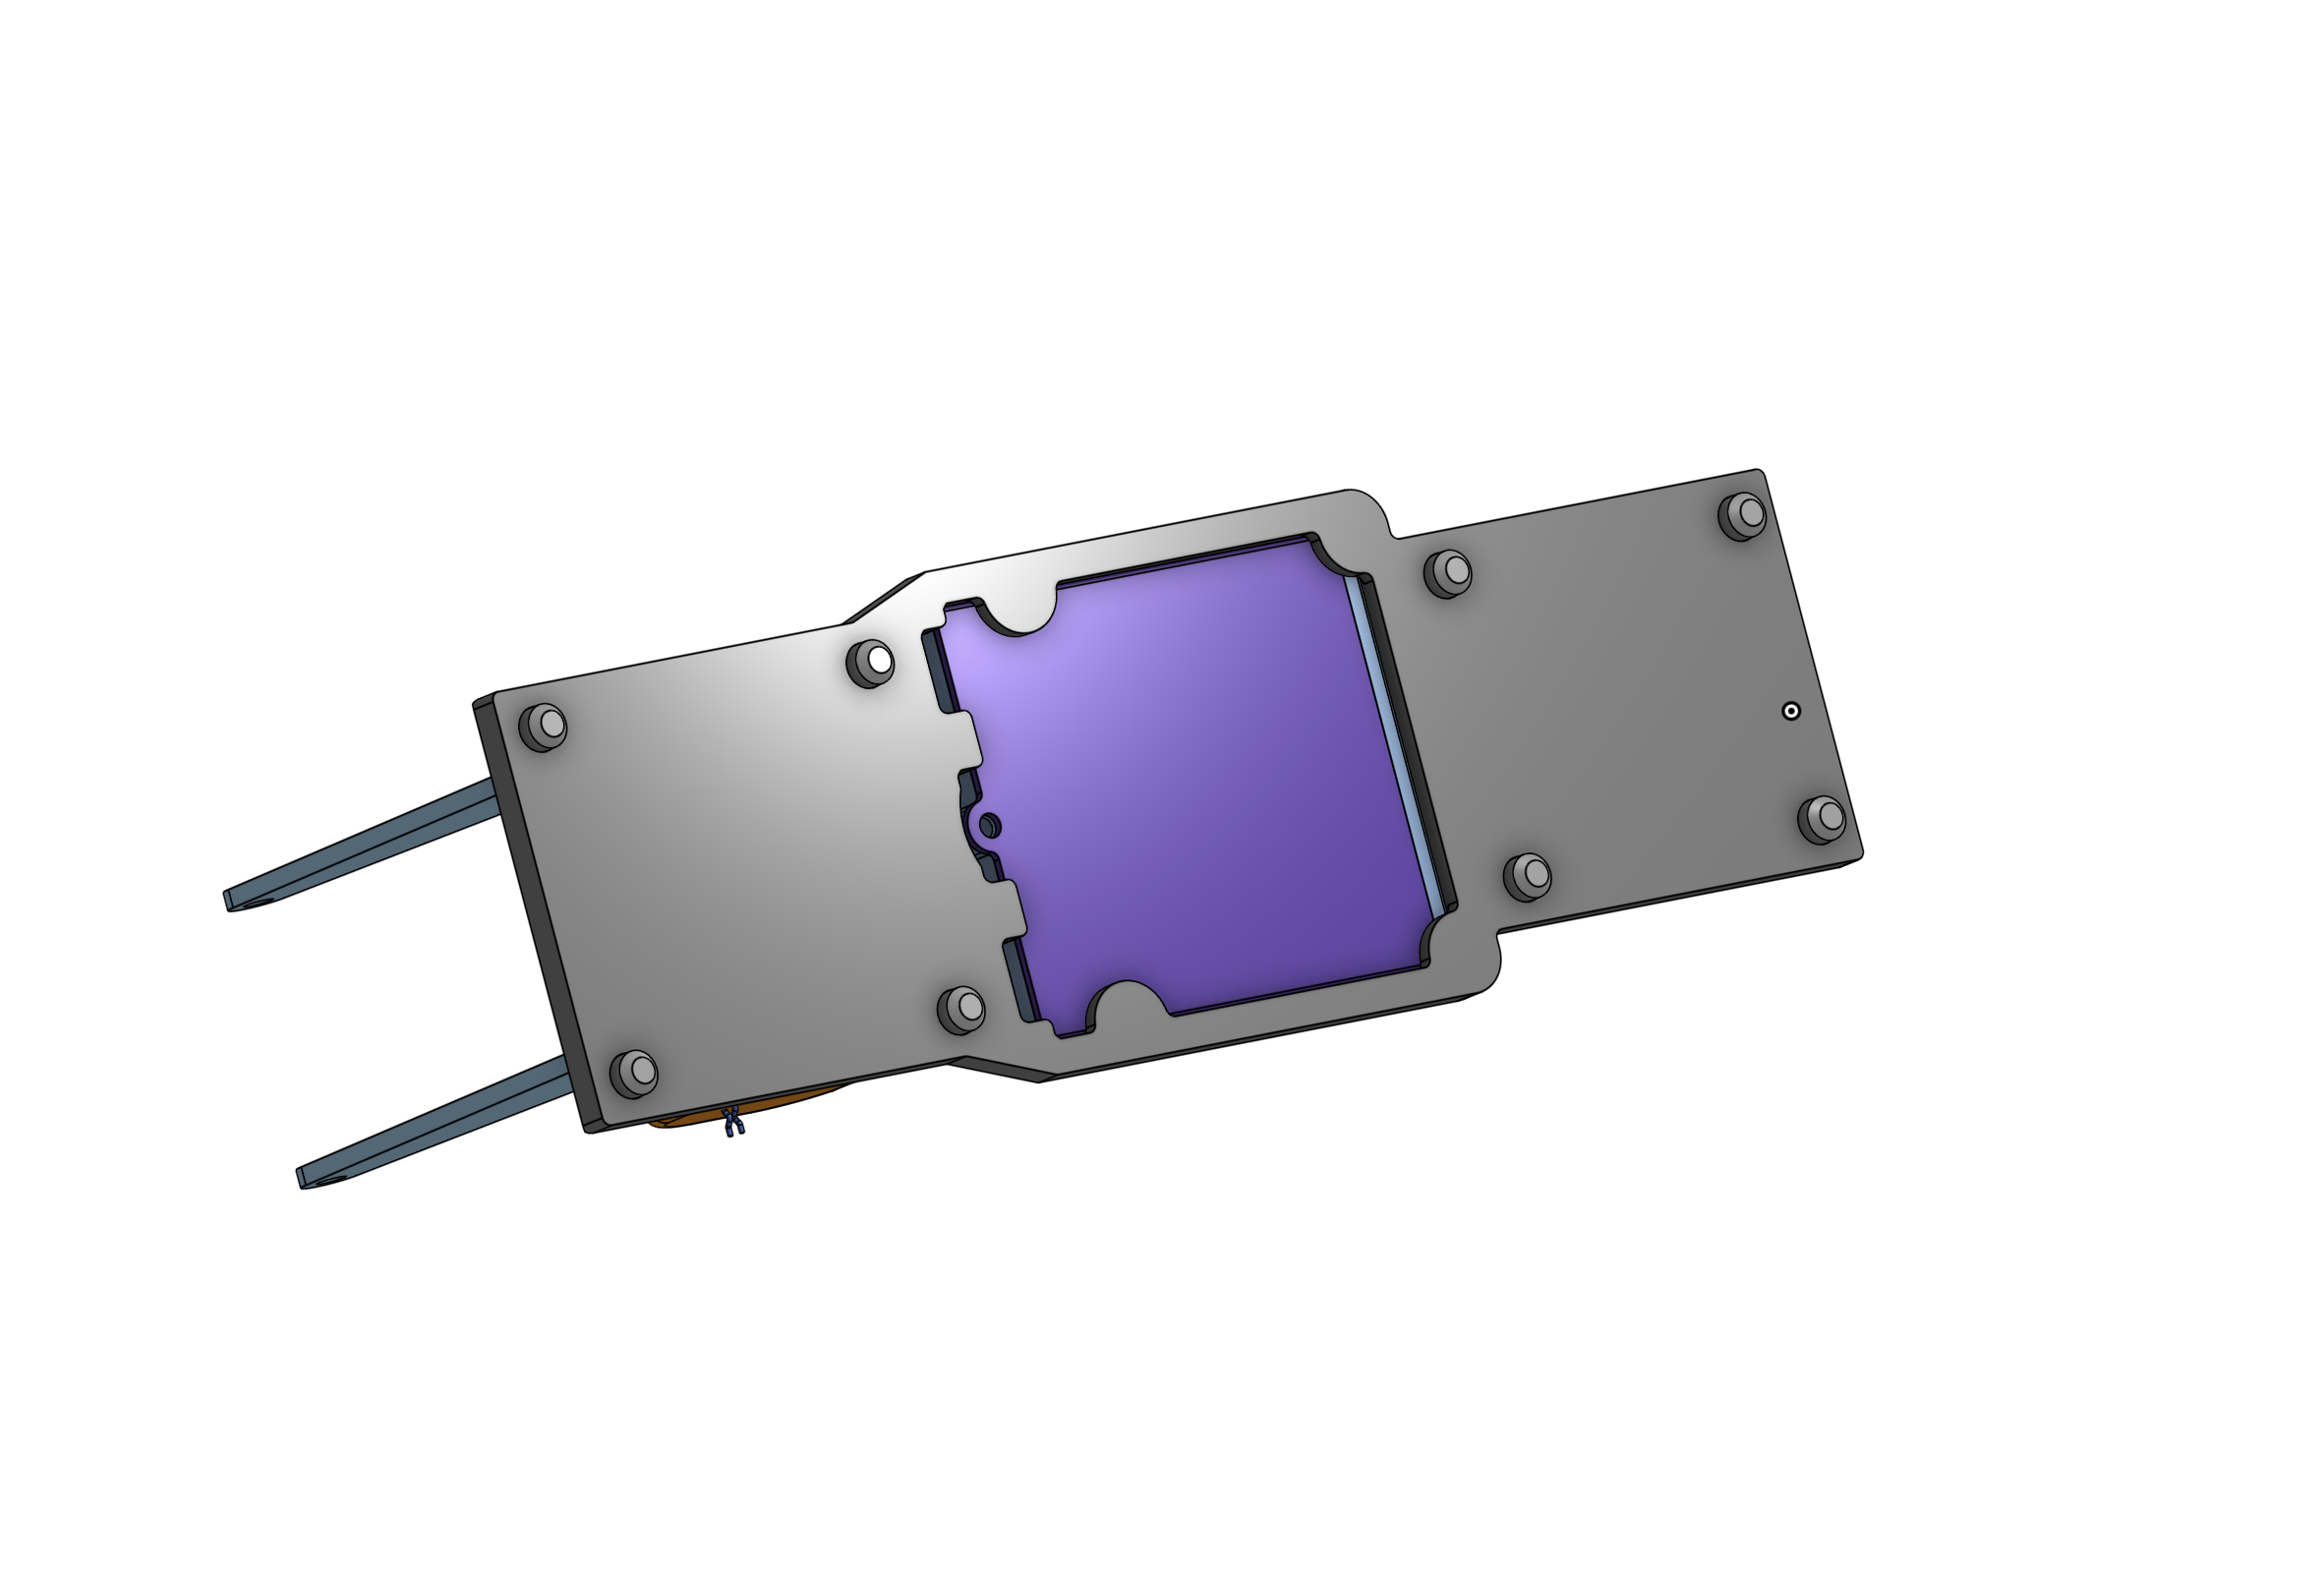
Attach Motor Cover Place and secure the motor cover over the installed motor assembly. Route the cable out the hole in the side of the motor block
-
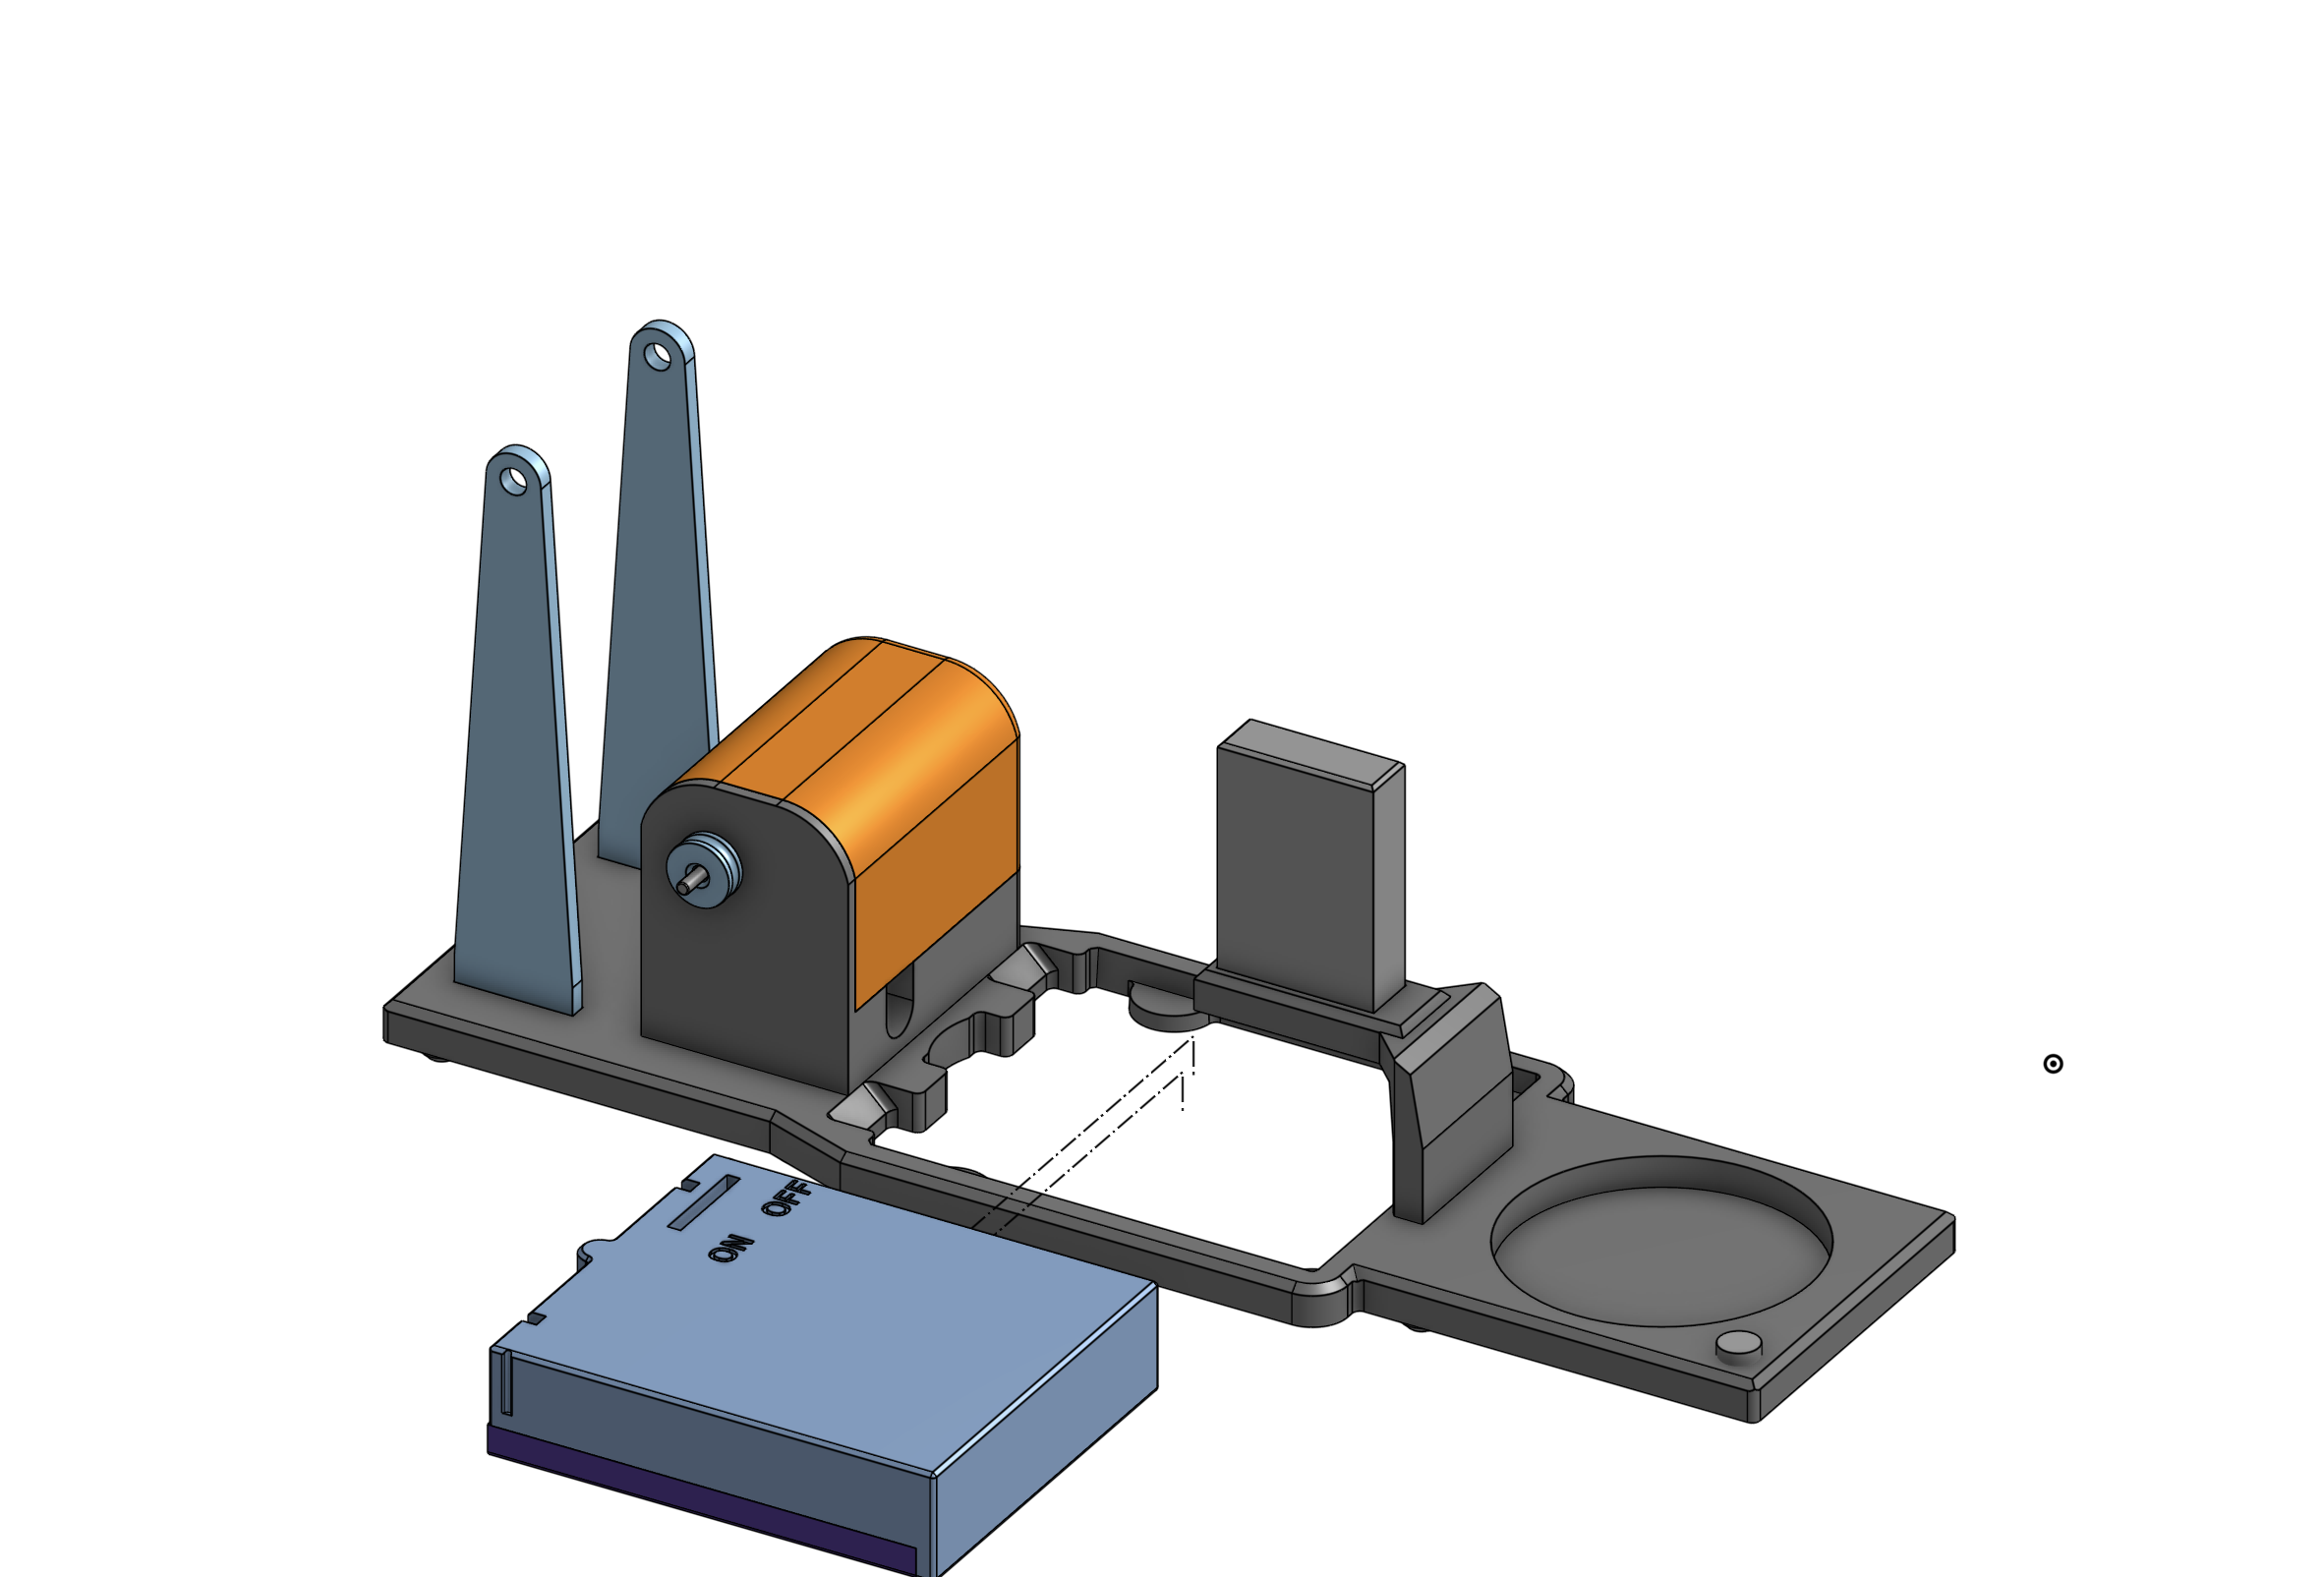
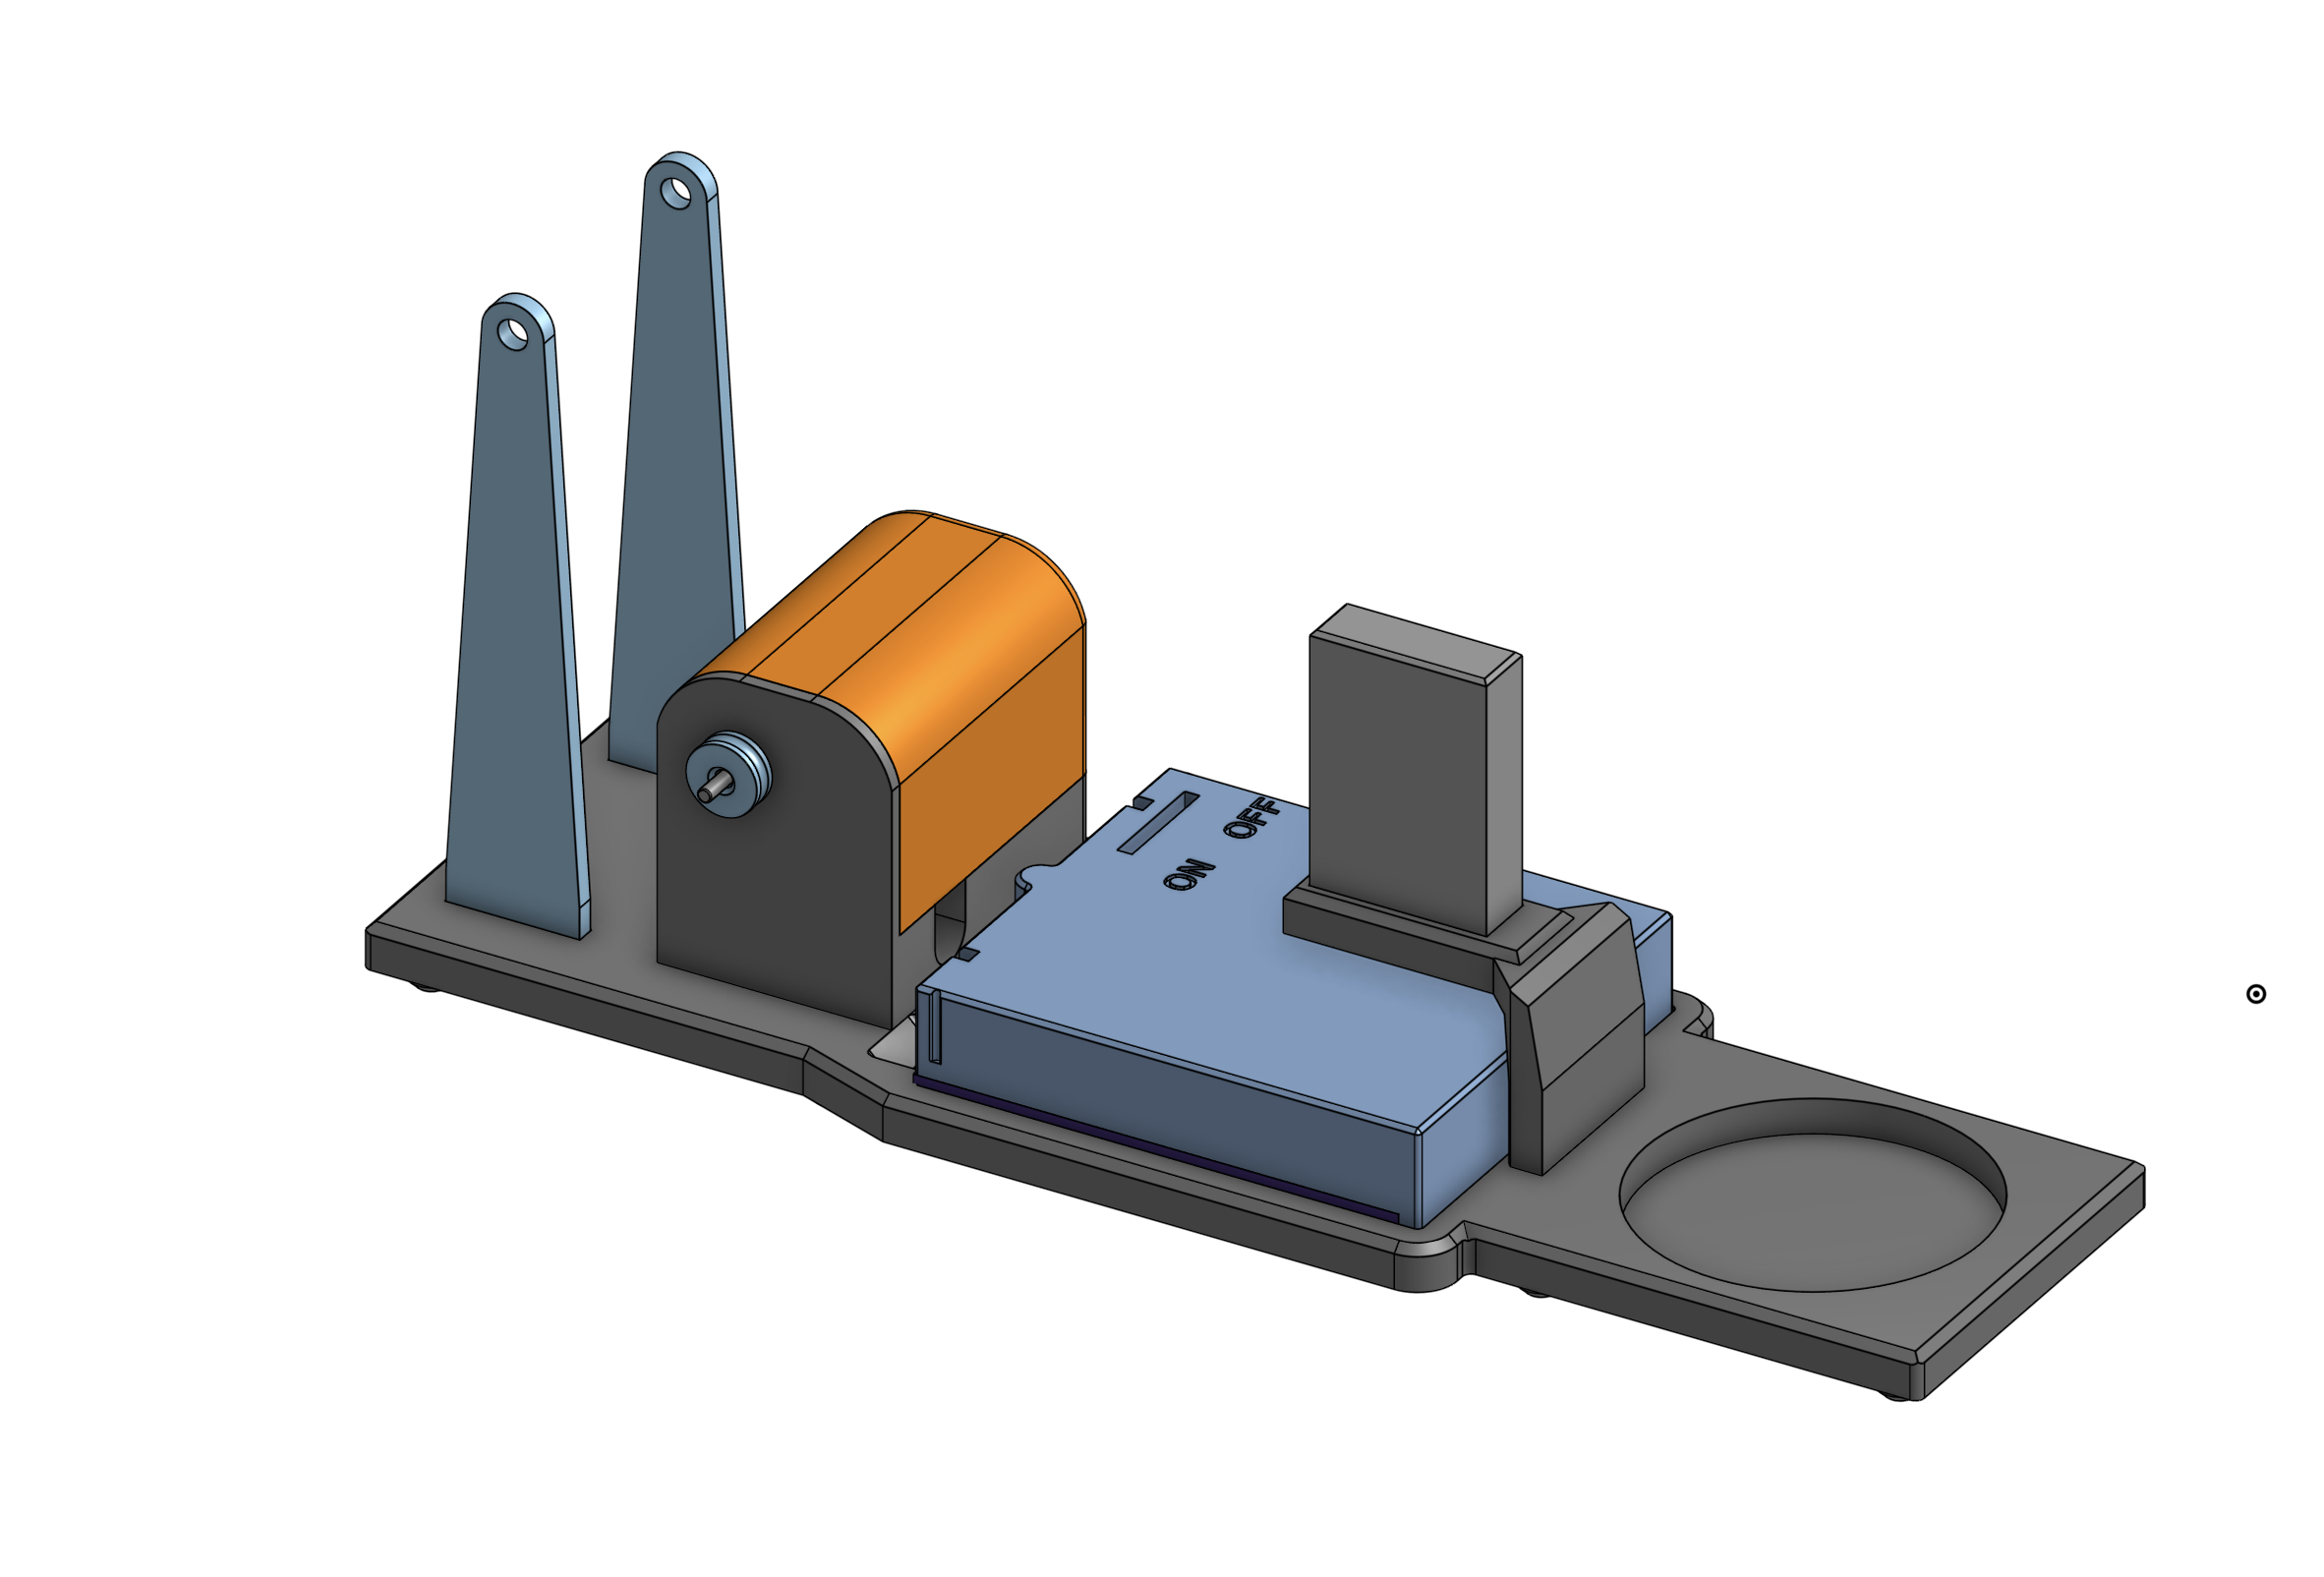
Insert Battery Box Insert the battery box into its designated compartment within the base structure.
-
Assembled Base Overview Review the complete base assembly, ensuring all components are correctly installed.
04 Fins
-
Attach Fins Carefully attach the heat fins to the designated area on the cylinder or engine body.
-
Front View of Attached Fins Examine the engine from a front view to confirm the correct and even attachment of the fins.
05 Final
-
Glue Cylinder to Support Apply adhesive and firmly glue the assembled cylinder unit to its support structure on the base. You will also insert the crankshaft into the vertical supports as pictured.
-
Attach Pulley Attach the main drive pulley to the crankshaft, ensuring it is secure and aligned. Stretch the elastic band (not pictured) around the motor pulley and the crank shaft pulley, it should slot into the grove on the pulleys.
-
Attach Flywheel Securely fasten the flywheel to the crankshaft. Ensure it spins freely and without wobble.

-
Gather Feet Collect all the individual support feet for the base of the engine.

-
Attach Feet Attach the gathered feet to the bottom of the base, providing stability for the engine.
-
Final Assembled Engine Your Sterling Engine assembly is now complete! Take a moment to admire your finished project.